
Learn the Joy of Needlepoint
Beginner's Guide to Needlepoint
Getting Started
Needlepoint combines creativity and therapy, engaging your hands and imagination. If you're new to it, don't worry - our guide is here to lead you to blissful stitching.
First off...
What is Needlepoint?
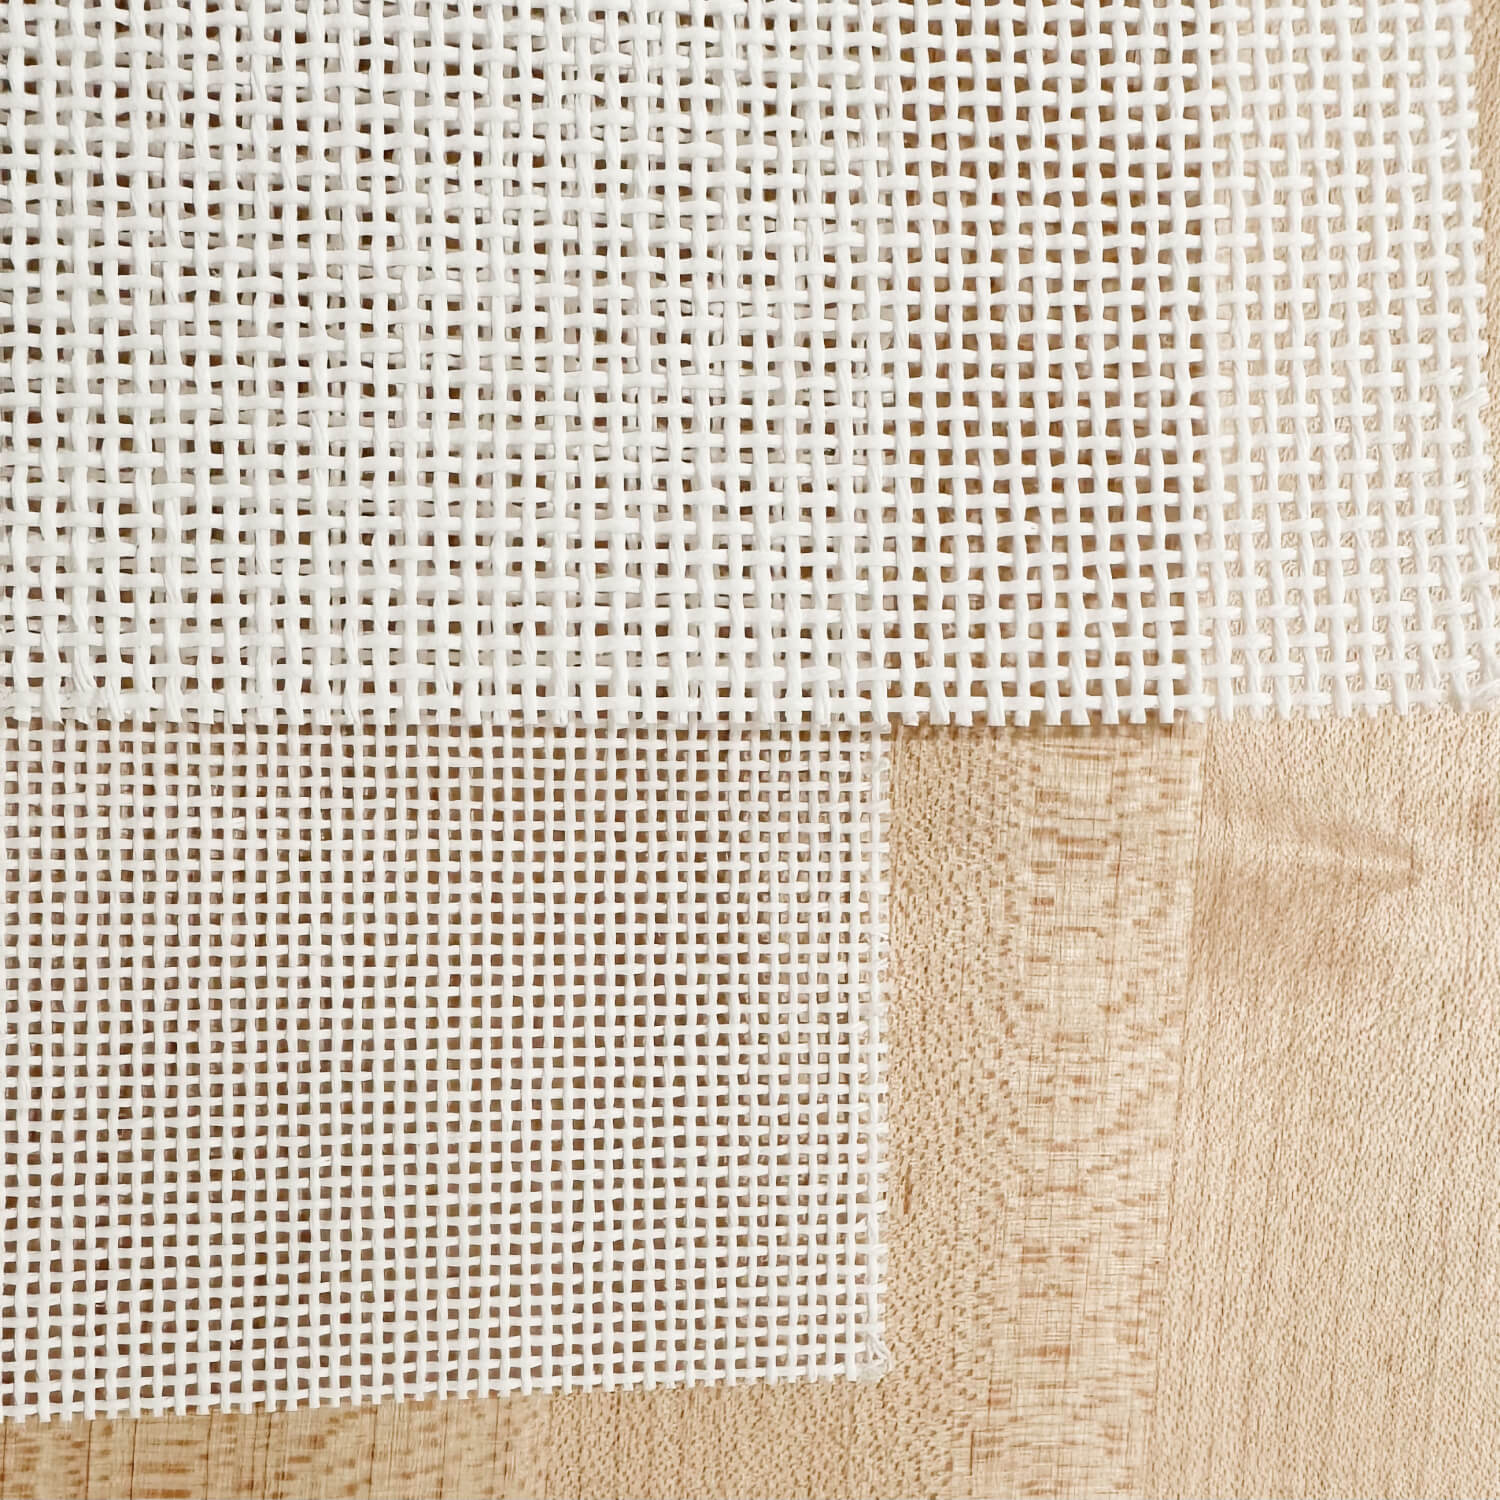
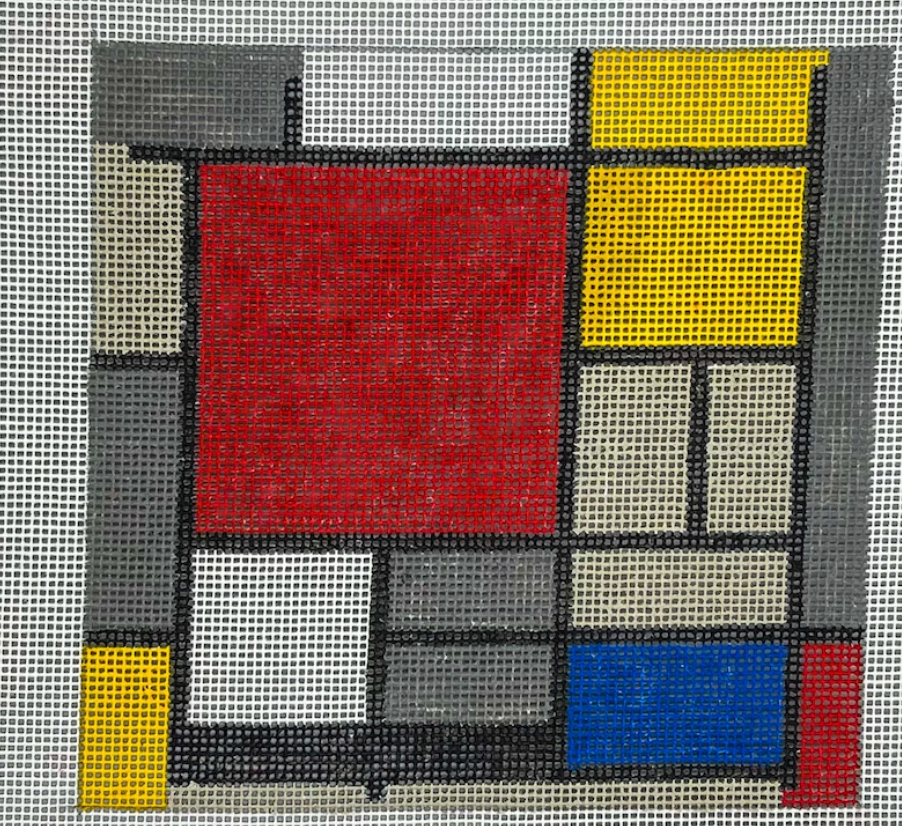
Needlepoint is a type of stitching that involves repeatedly passing thread—different thread materials create different textures—through an open weave mesh canvas. Needlepoint's durability makes it such a popular embroidery choice for a myriad of household items, including pillows, fashion accessories, gifts and much more.
Now it's time to sit down and go Stitch by Stitch.

Here's what you'll need to get started
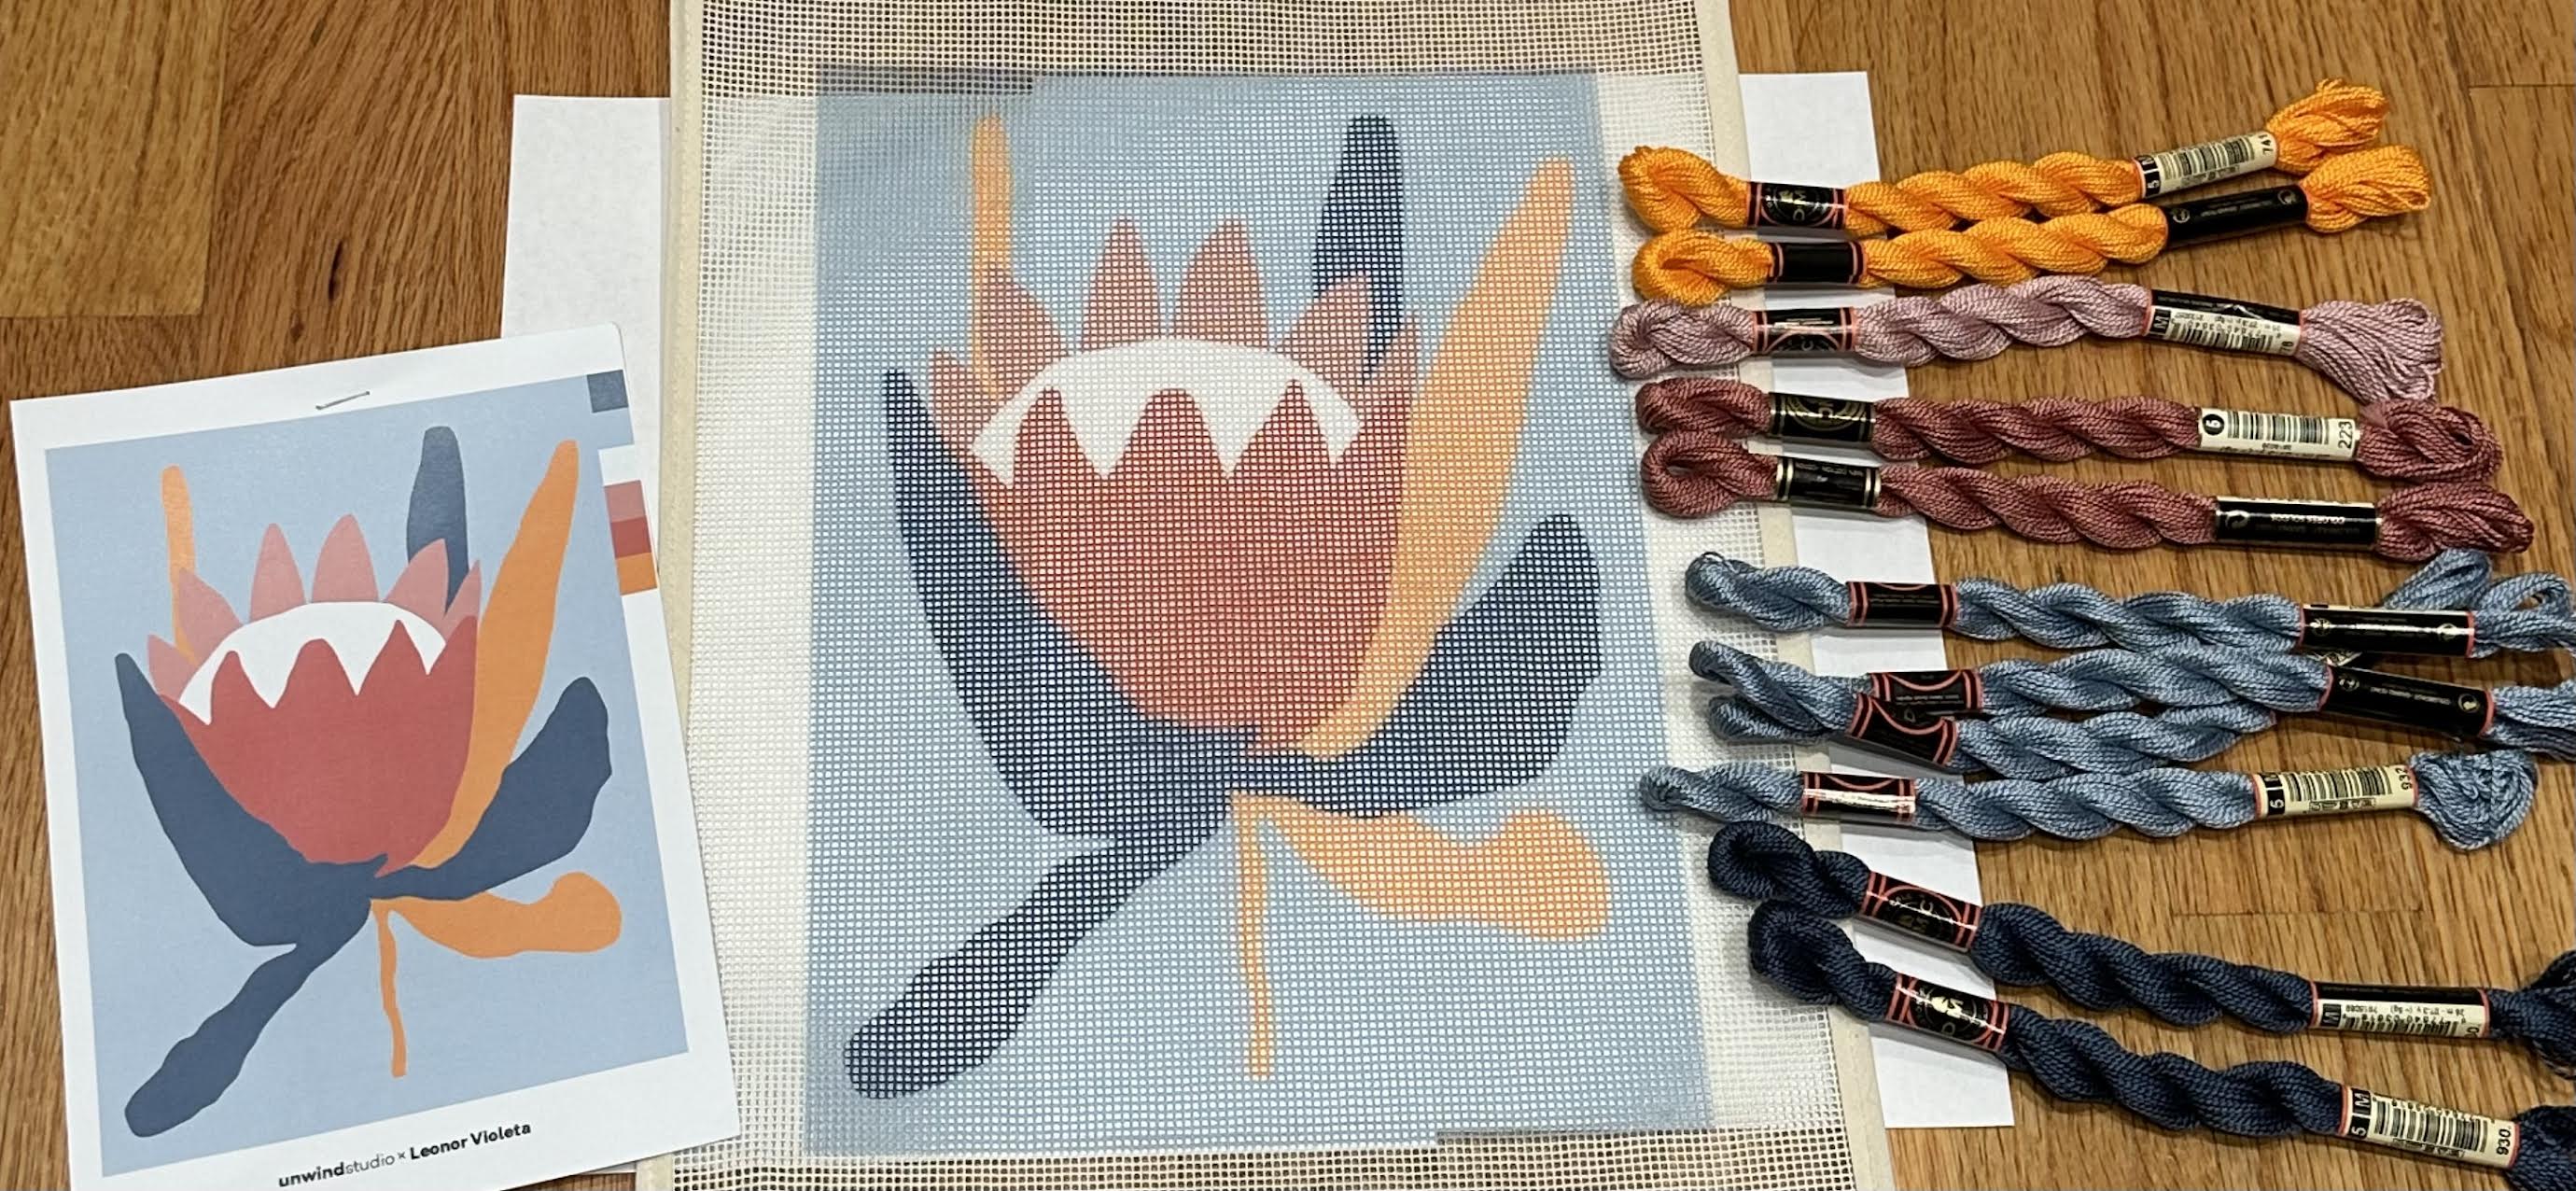
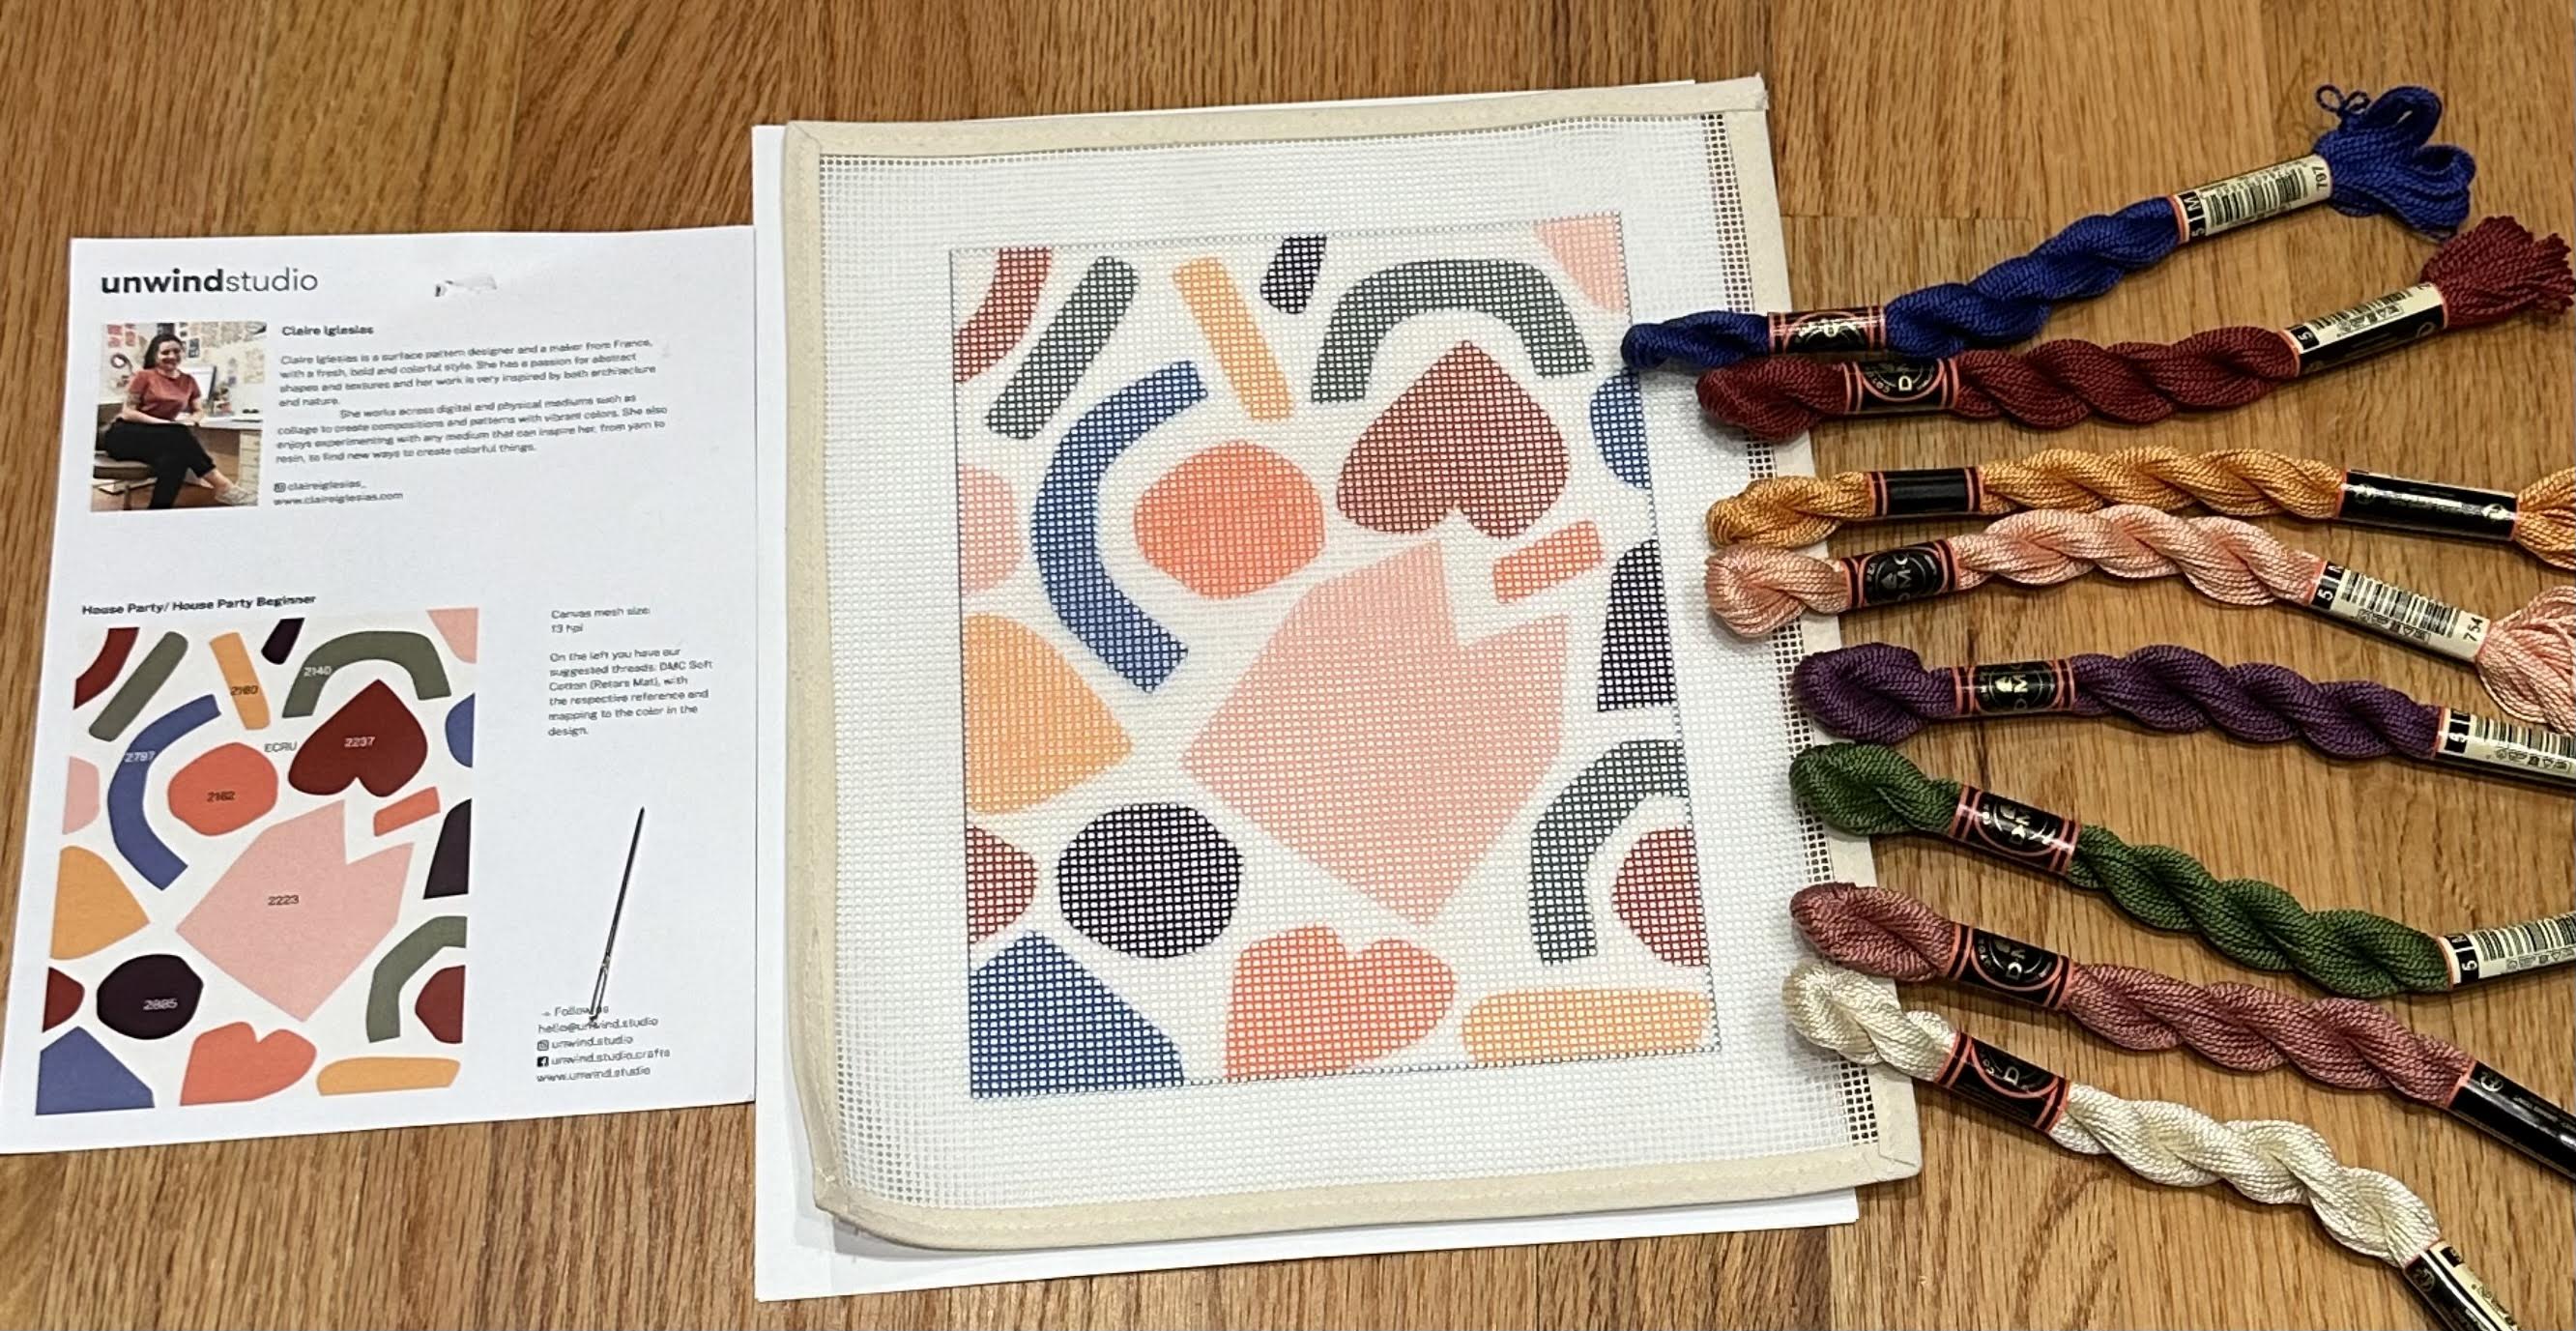
Supplies
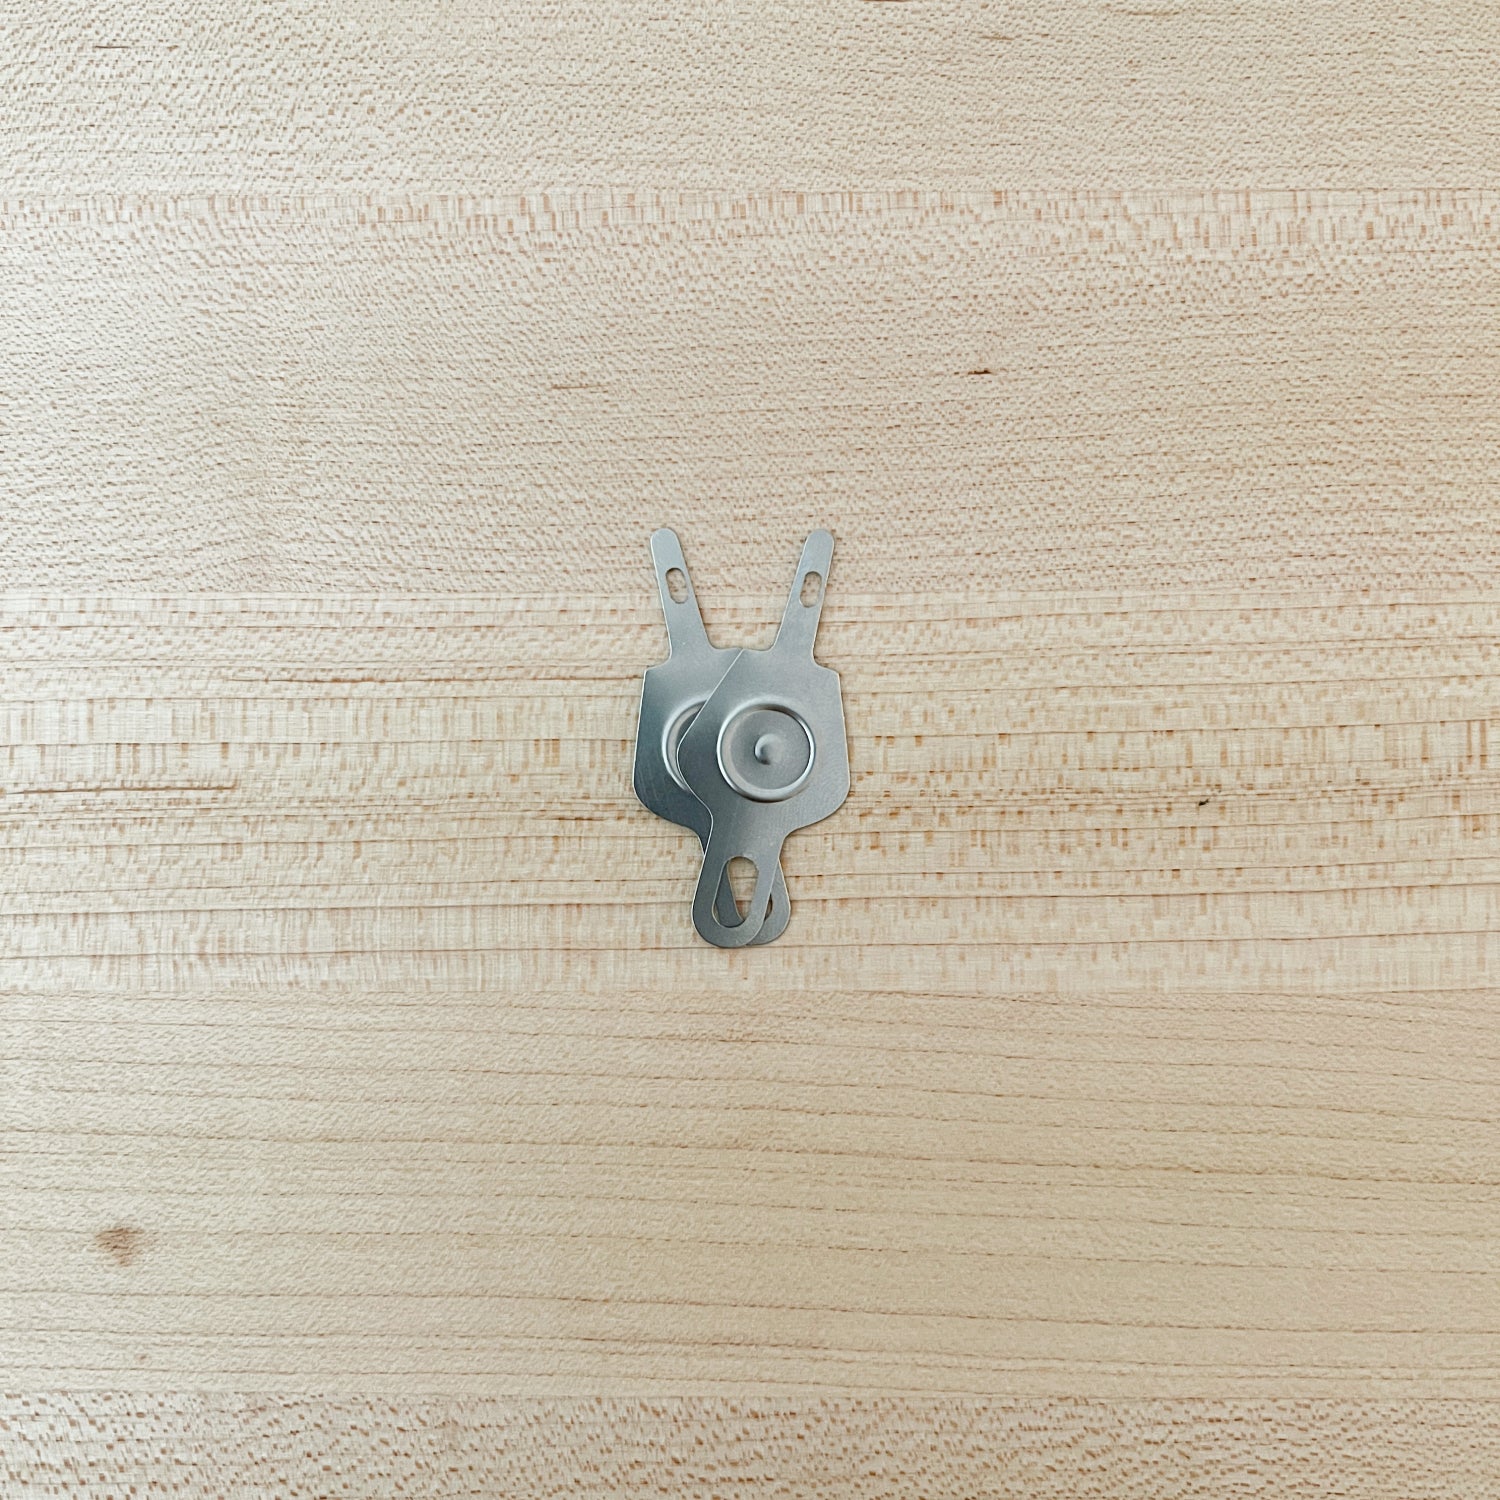
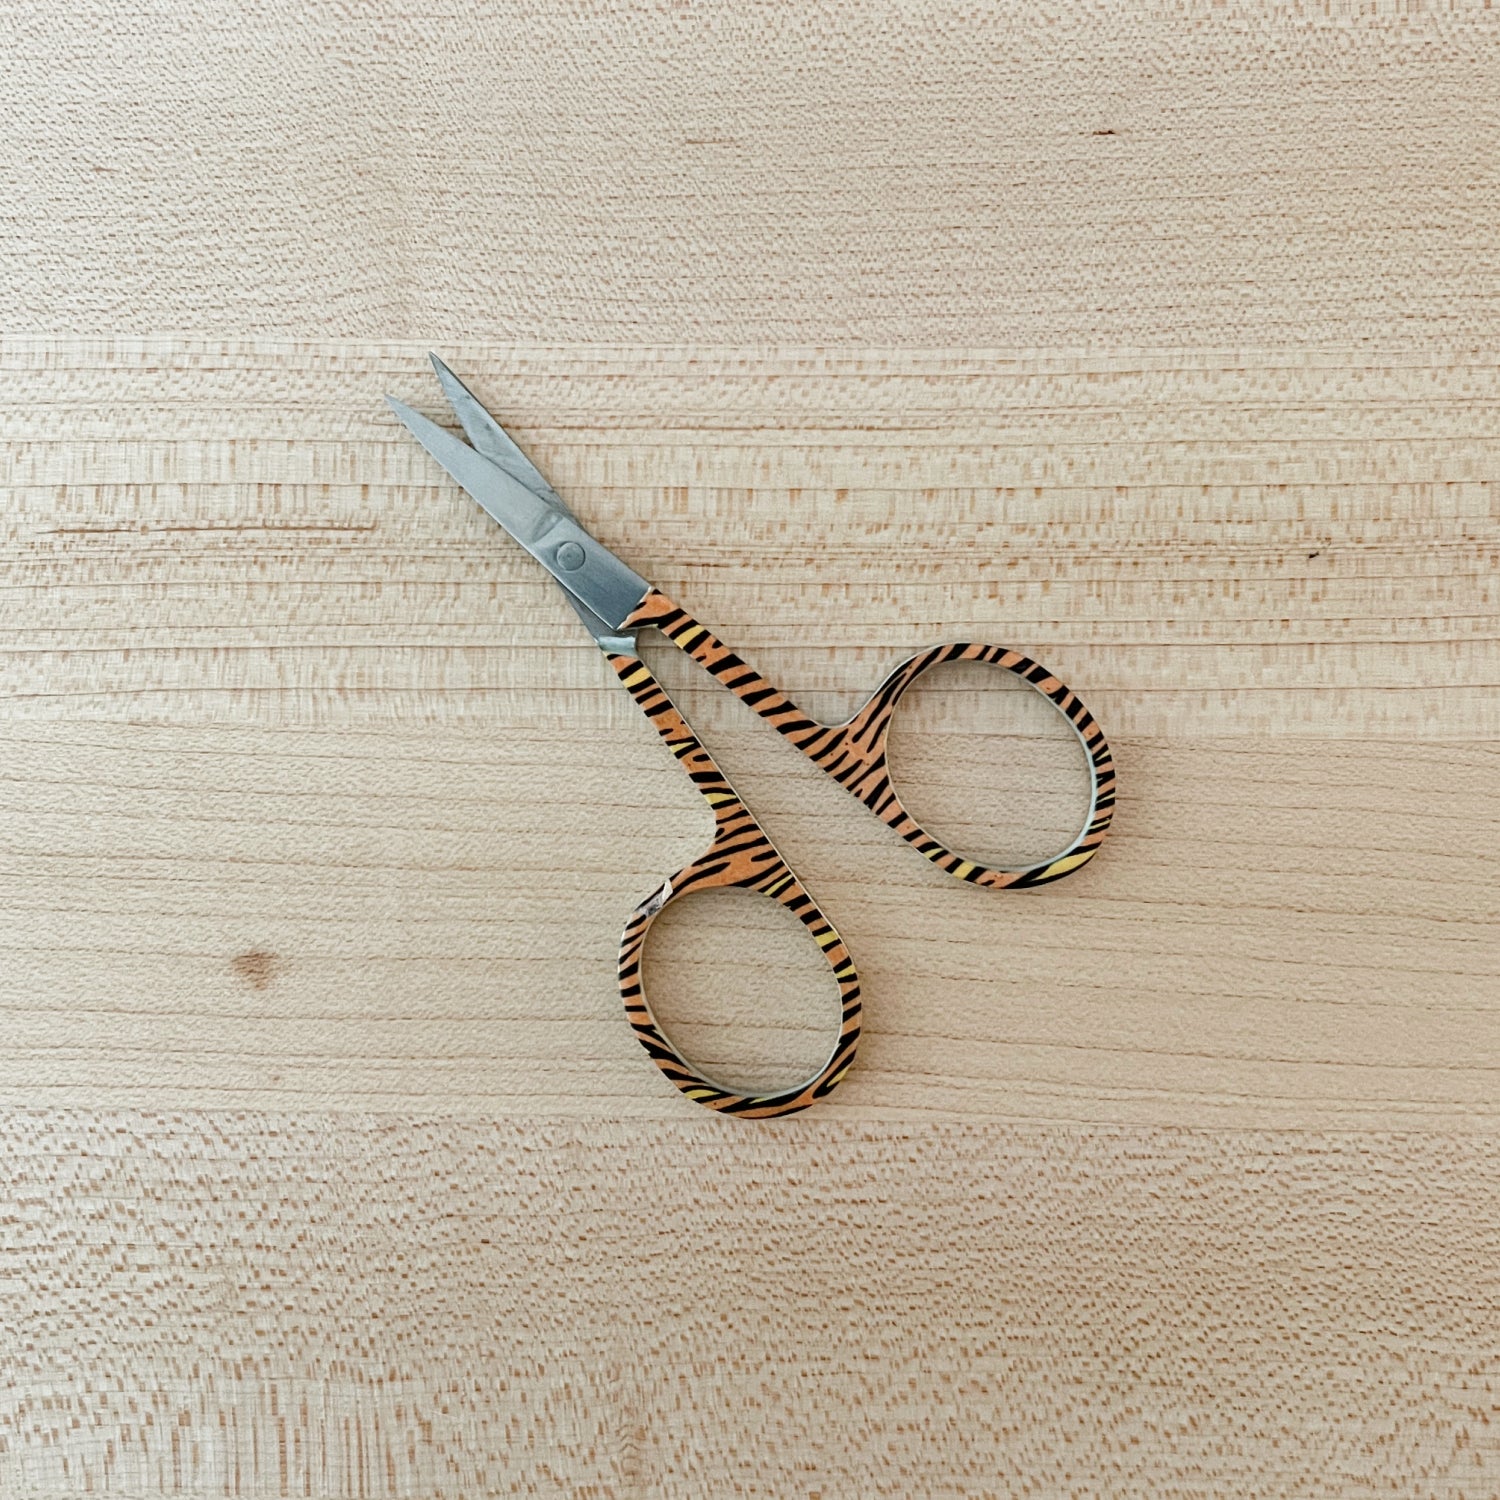


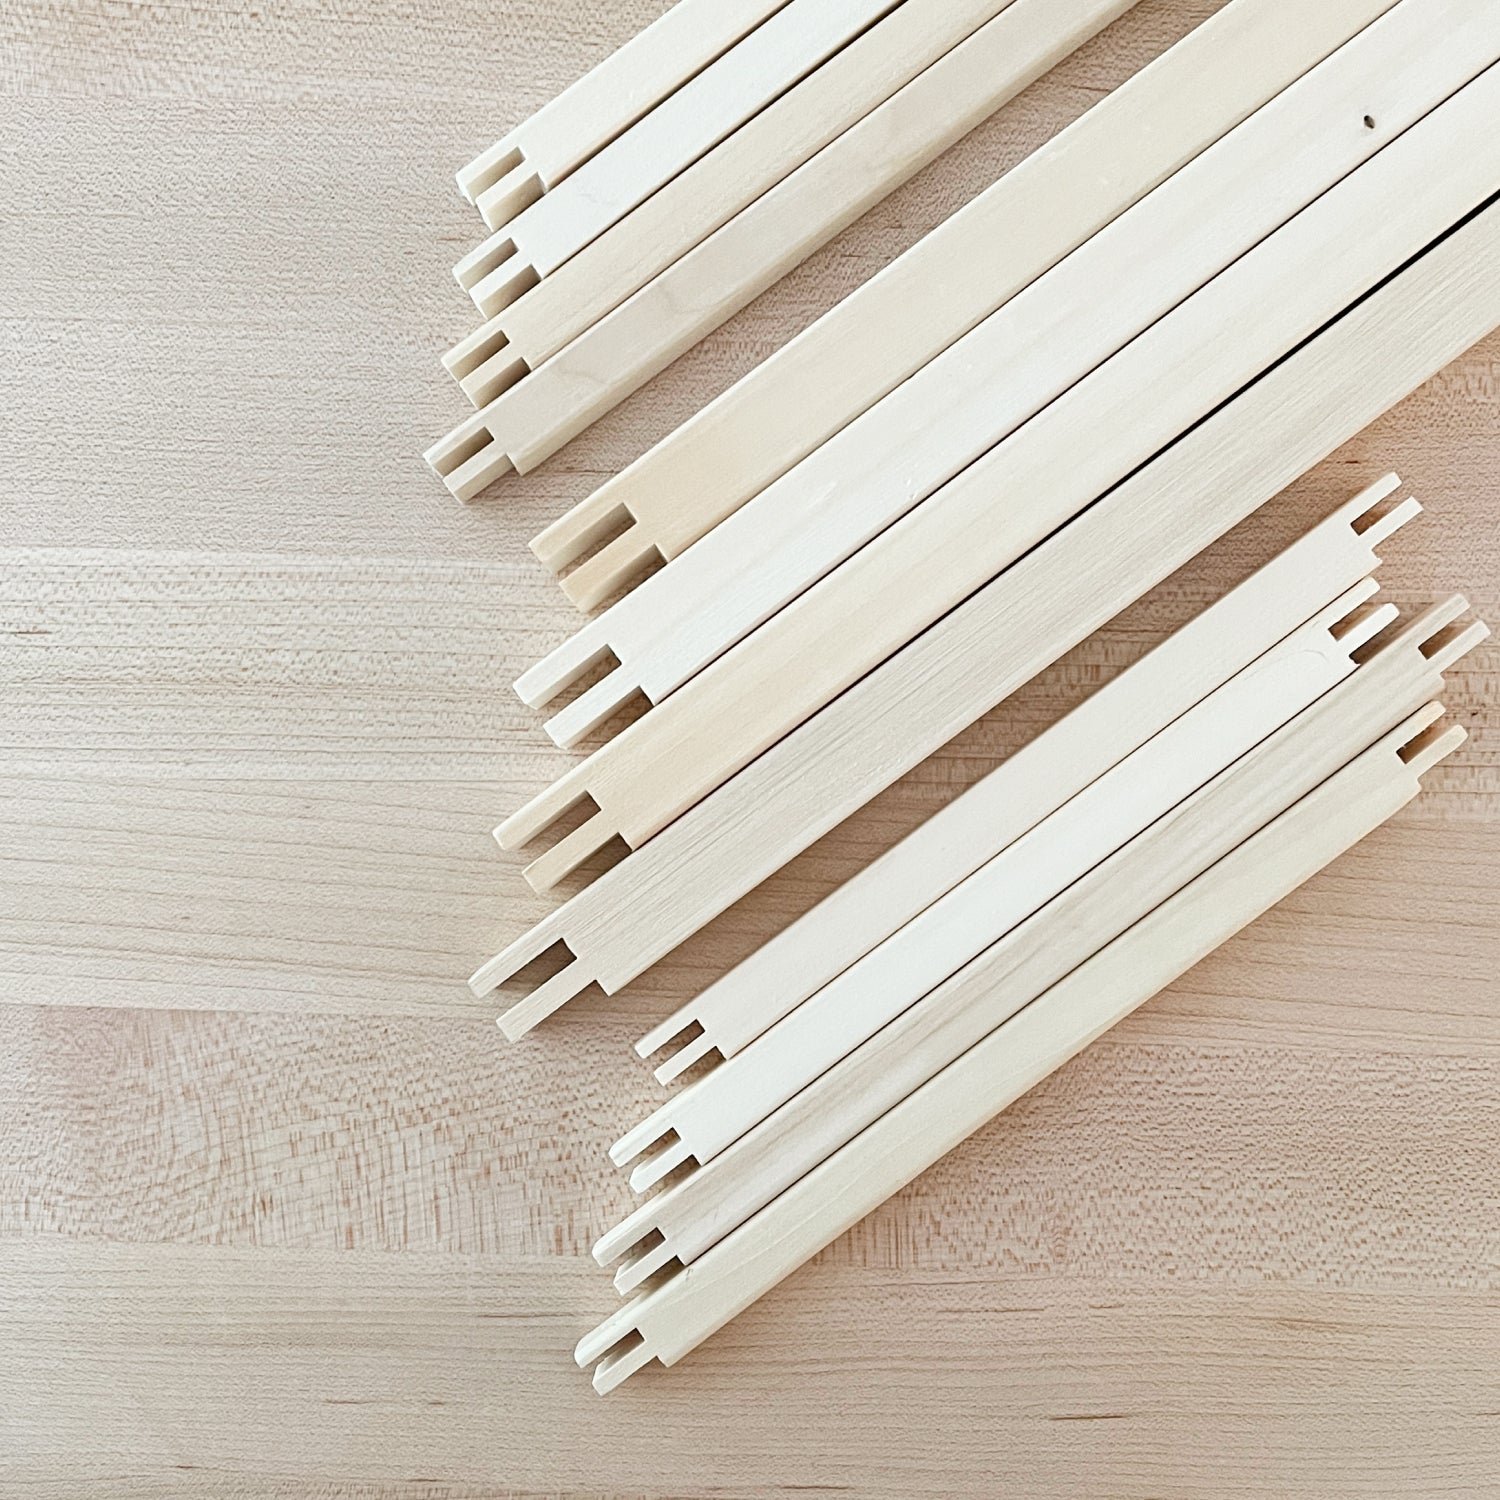
Don't worry. When you order a beginner kit, we'll get you all ready for success.
10, 13, 14 & 18
Mesh Size
Mesh count measures holes per inch. 13 mesh canvas will have 13 holes per inch and 18 mesh will have 18 per inch. 13 mesh holes will be larger as there are less per inch. Some feel that 13 mesh is a quicker stitch while 18 mesh canvases can support more detail in the the designs.
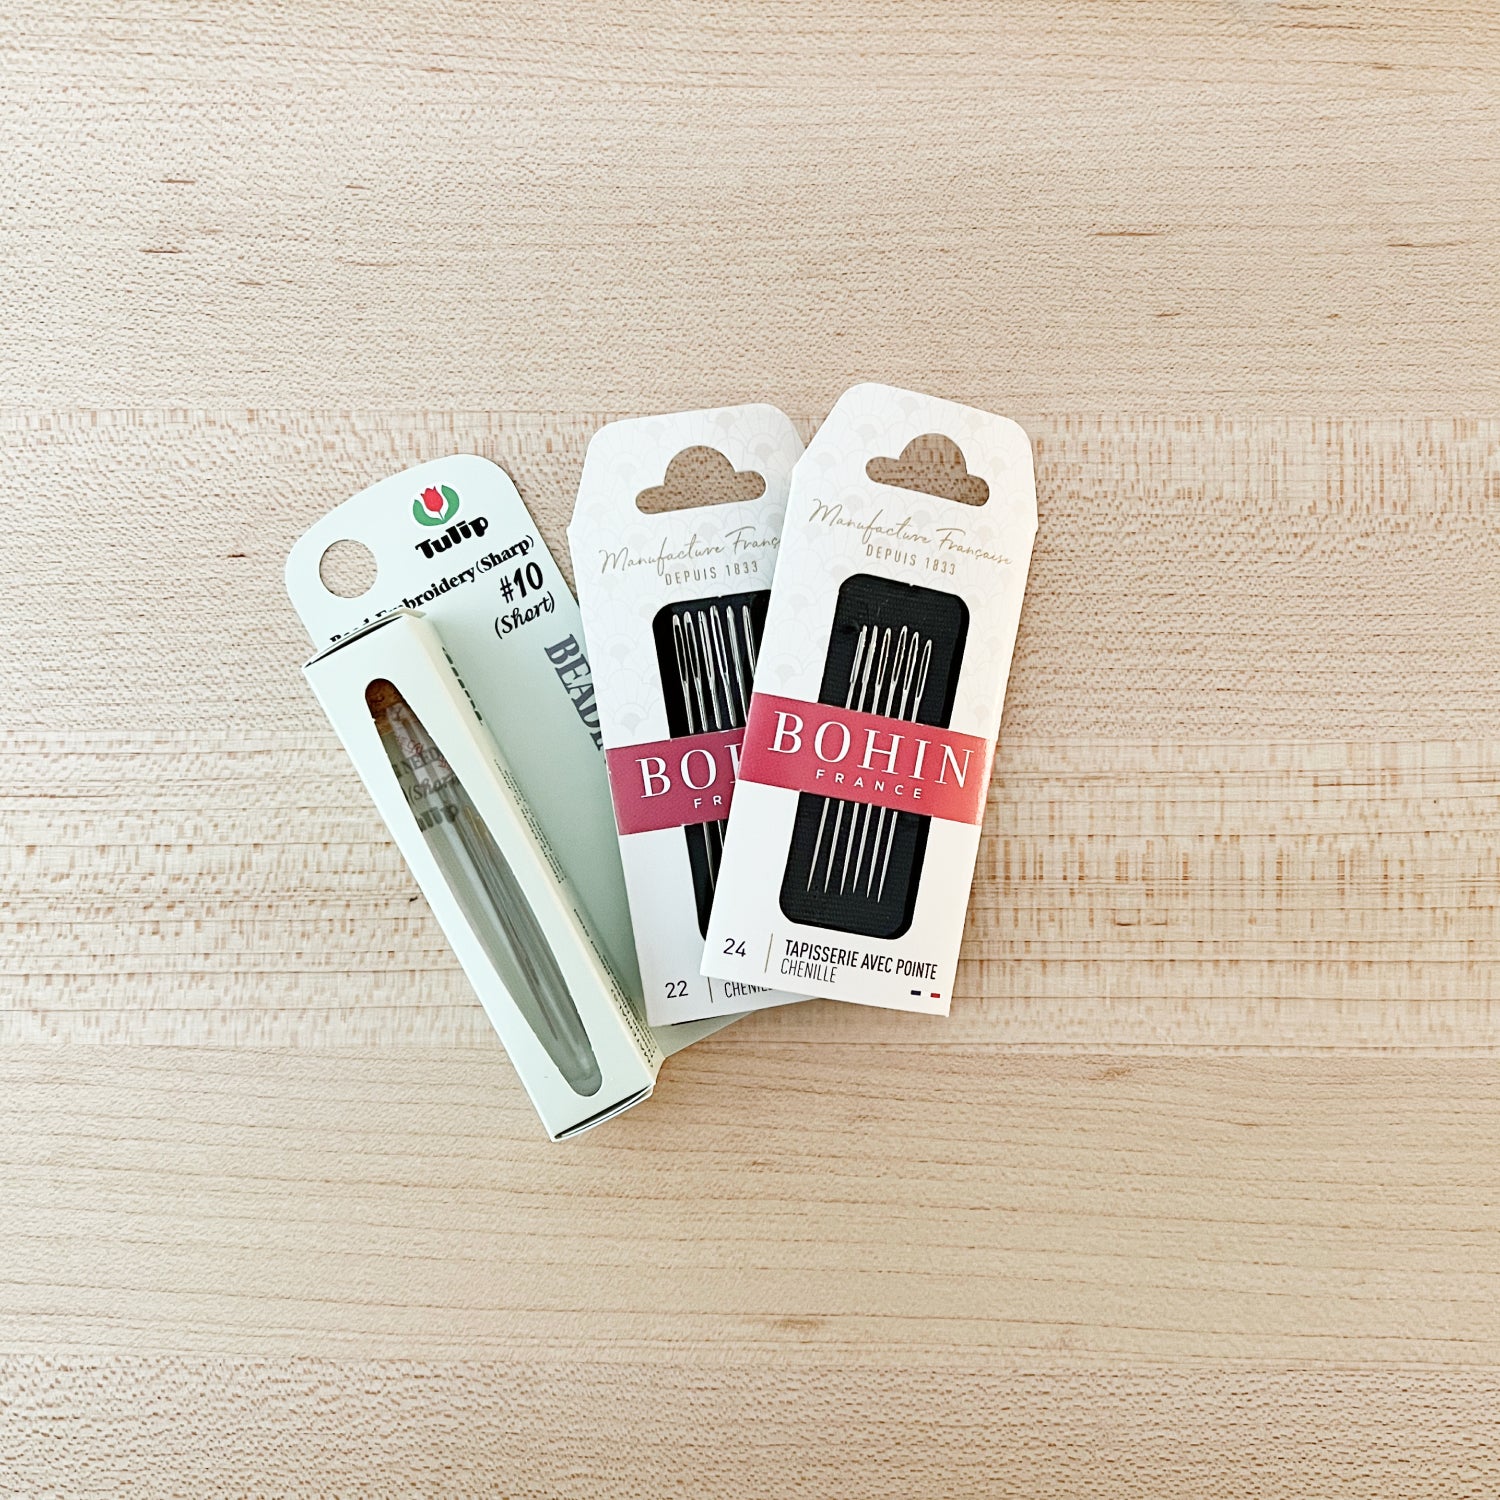
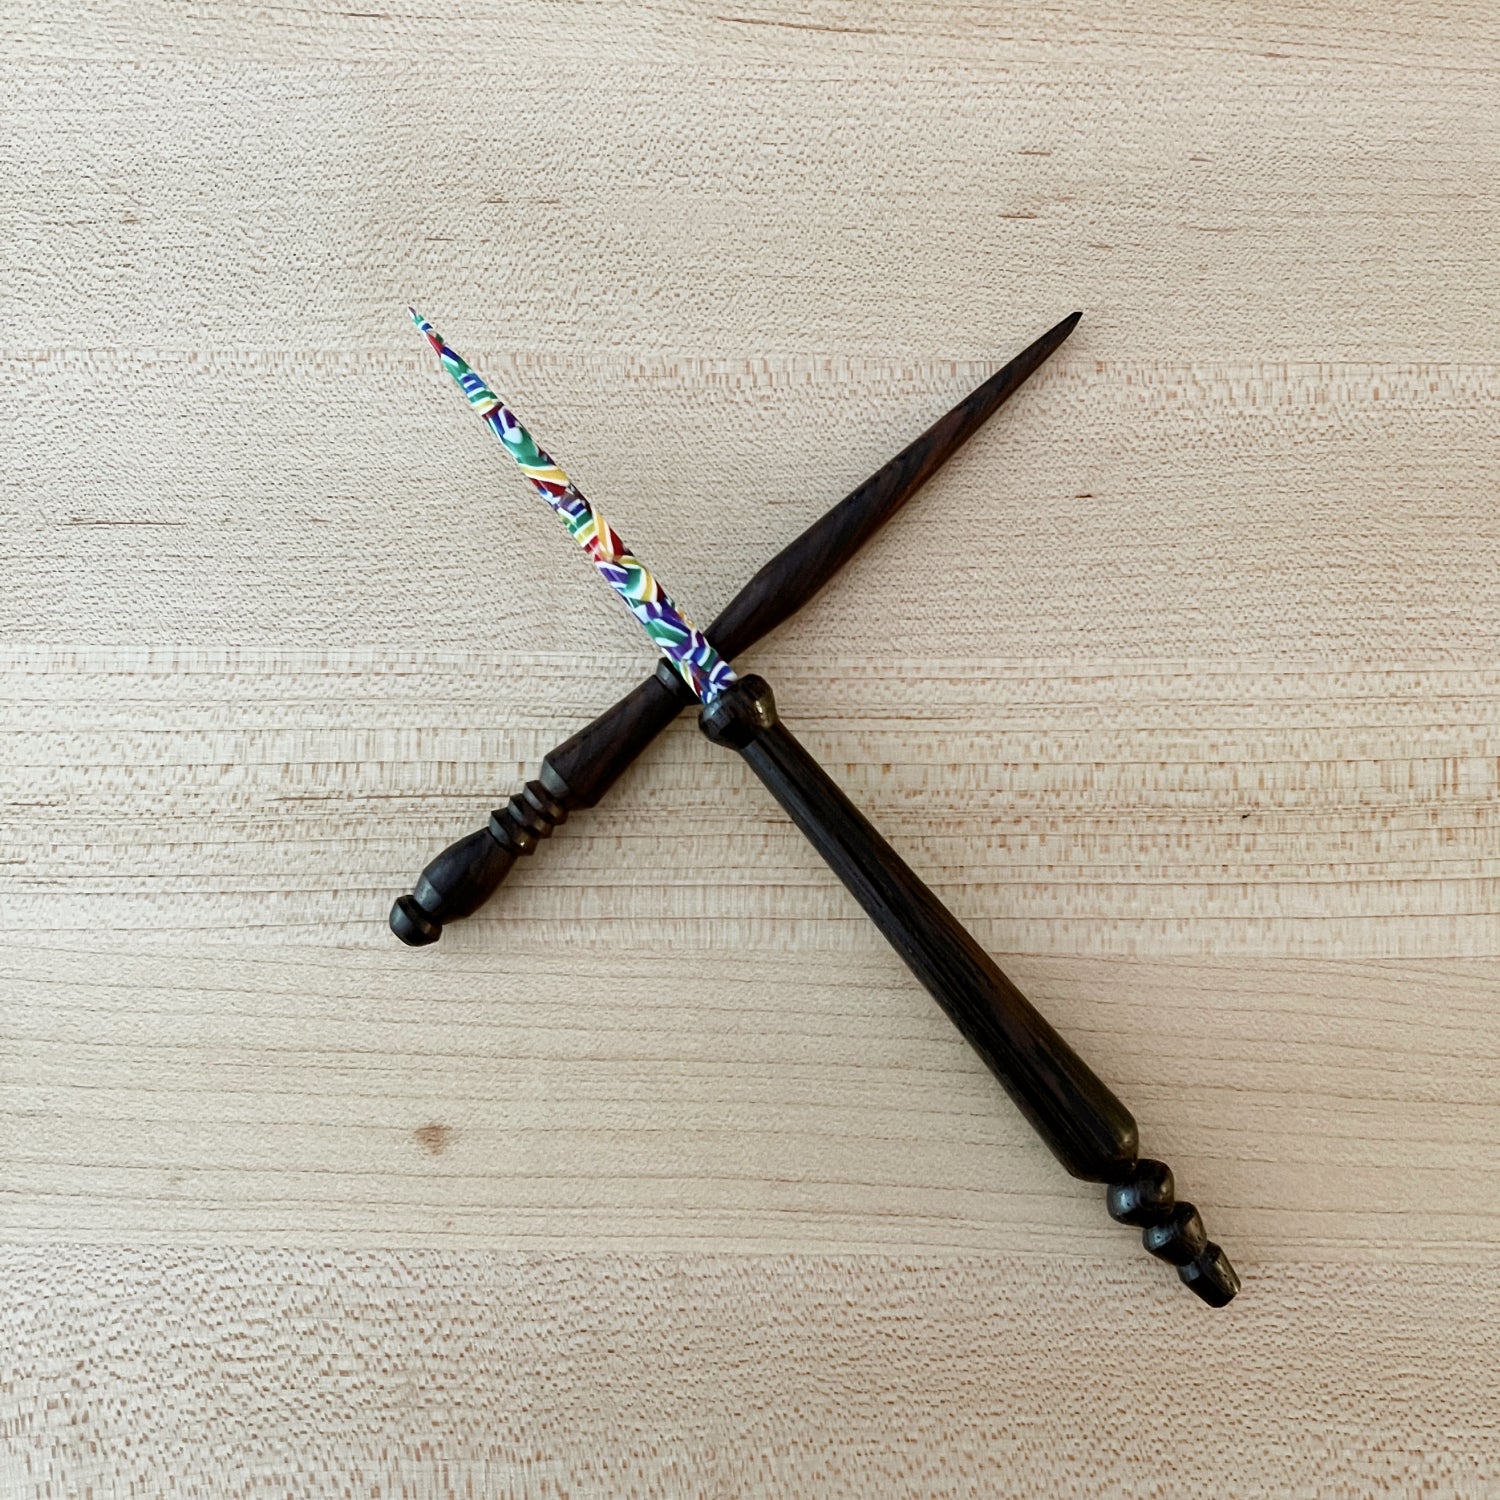
The right tools
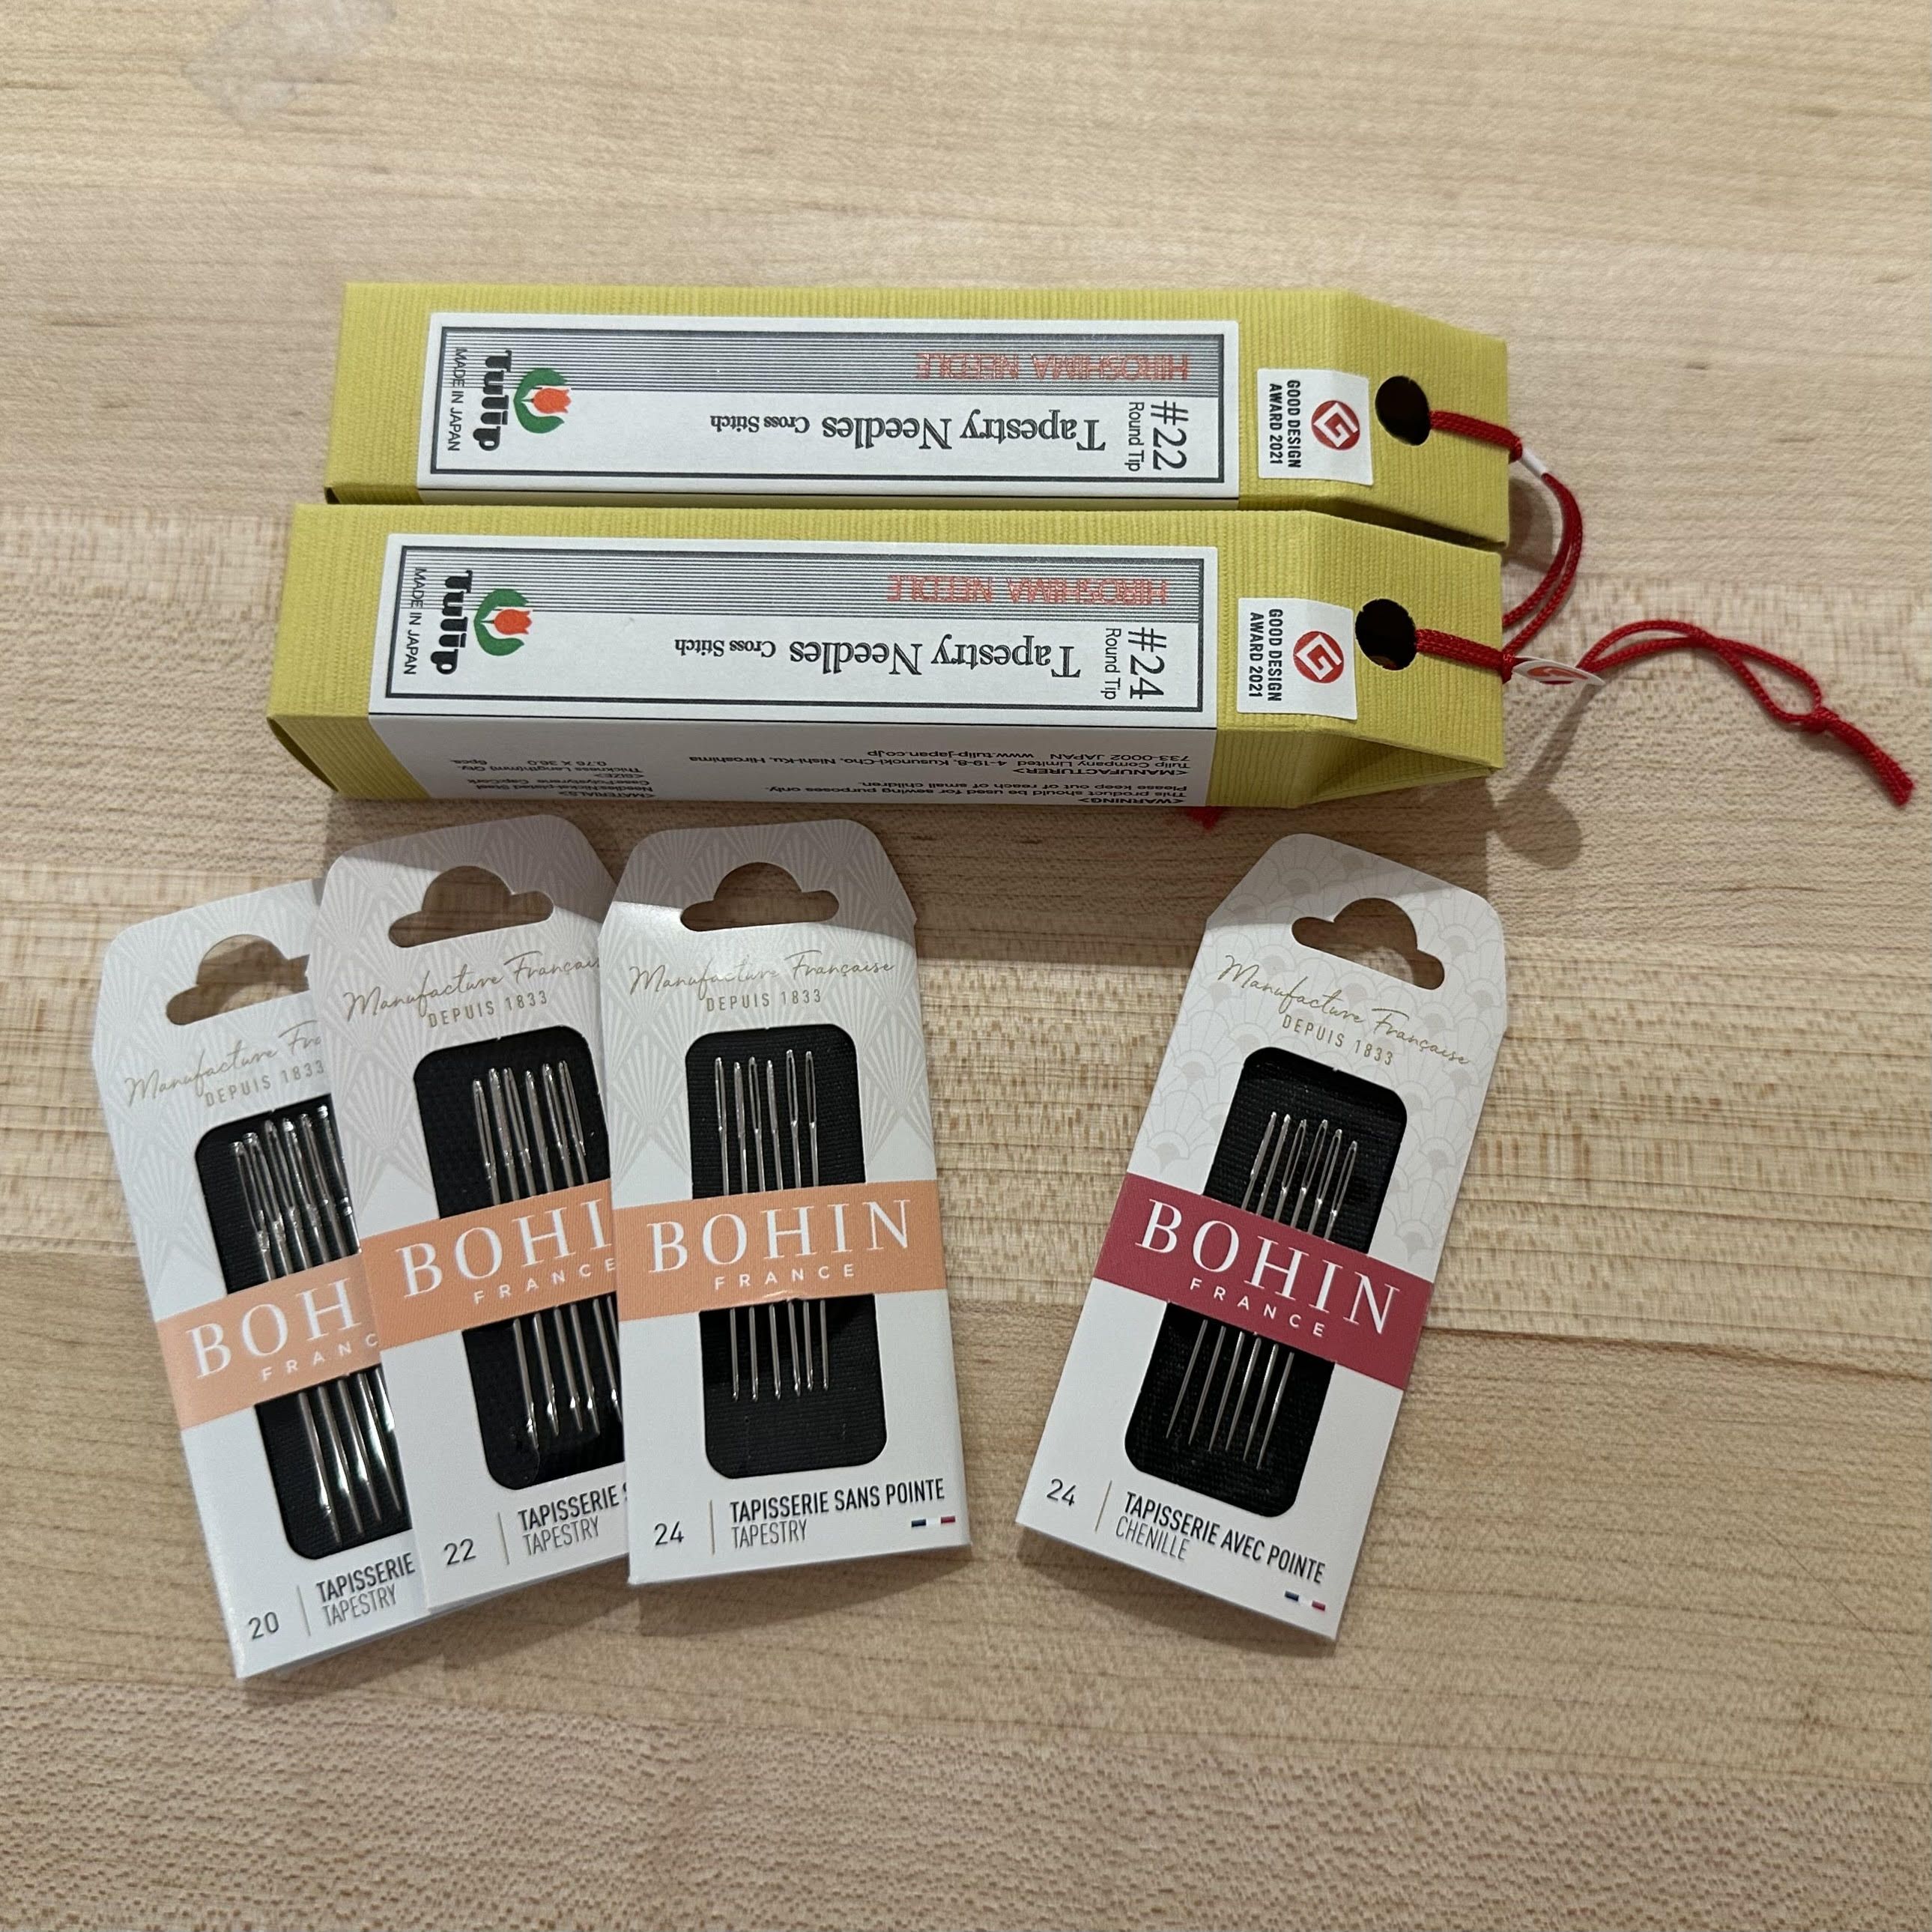
Needle Size
Below is a common list of corresponding needle sizes for the appropriate canvas mesh. As the #of the needle get larger the actual needle gets smaller/thinner. You may also want to take into consideration the fiber you are using when choosing a needle.
Tapestry Needles are the most common to use, but occasionally a sharper chenille needle is called for.
—
10-12 mesh / 18 needle size
12-14 mesh / 20 needle size
14-18 mesh / 22 needle size
22-24mesh / 24/26
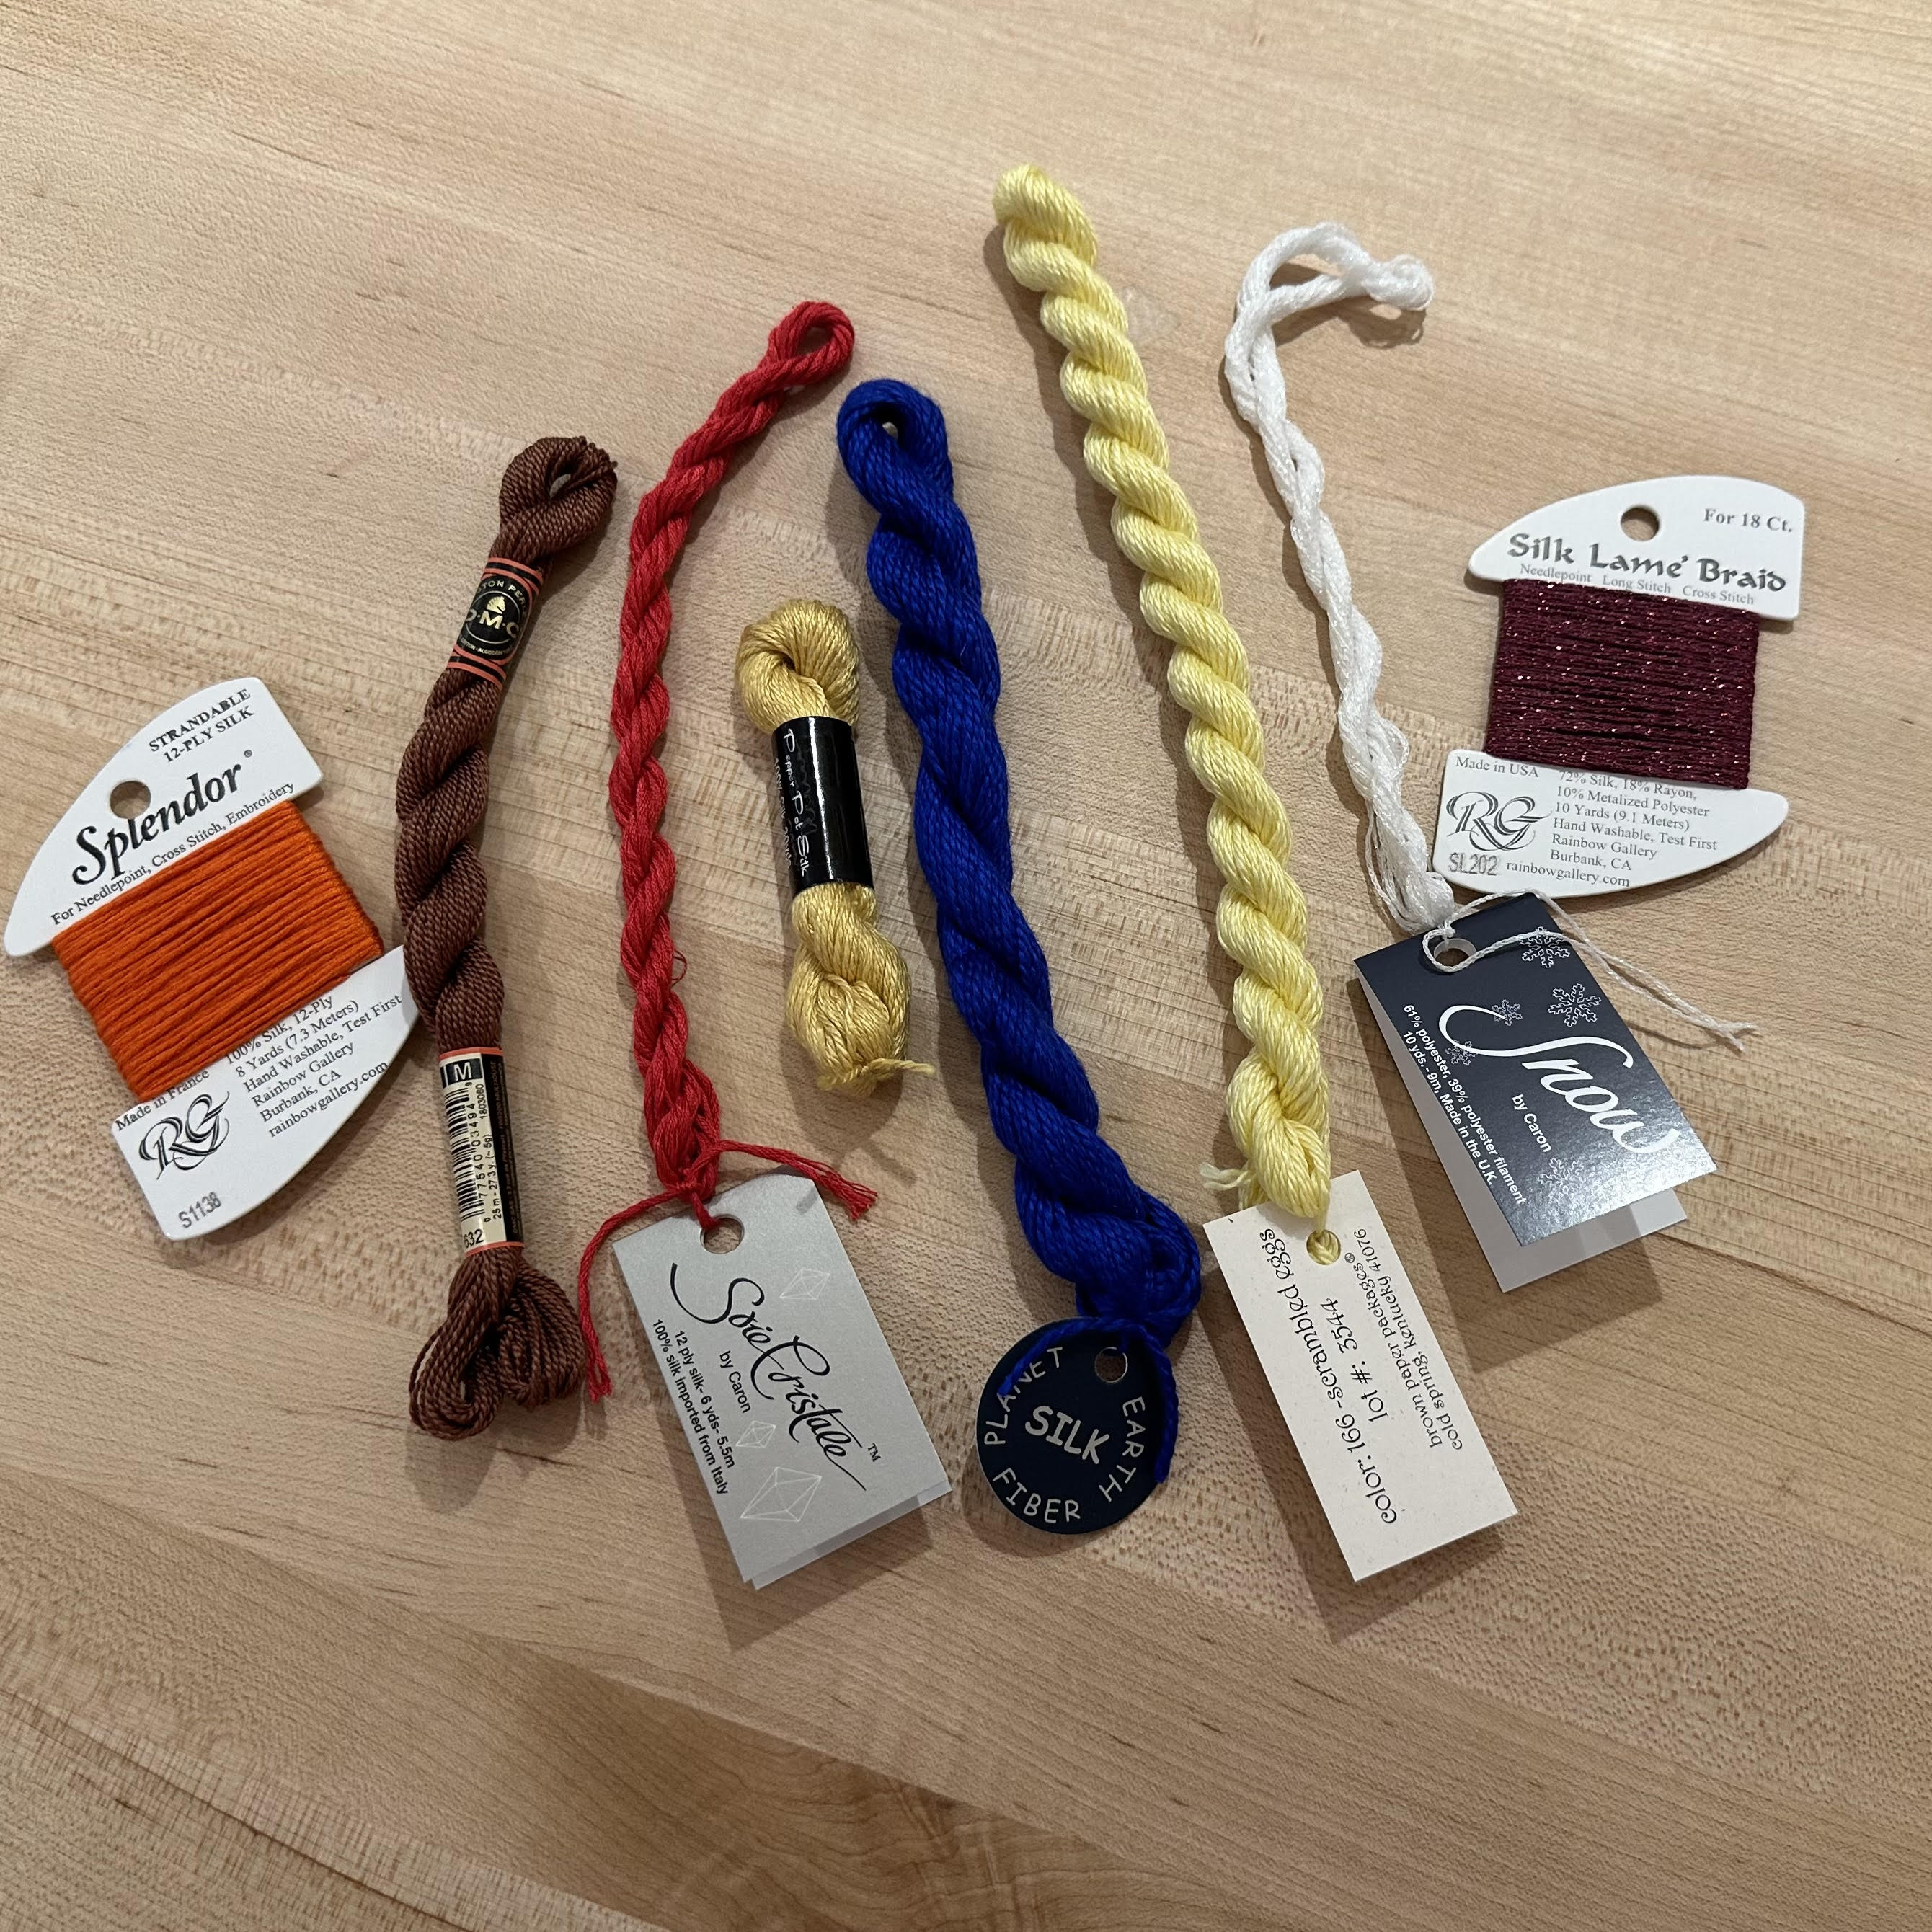
A bit about threads...
Single Ply v. Stranded Threads
A single ply thread is designed to use as is when you take it from the skein (the bundle/card of thread). A stranded or plyable thread has multiple strands that can be divided, making them plyable into smaller or larger groups depending on the mesh size of your canvas or the stitch you will be using.
—
Refer to the article below, which lists all the threads we carry and how many strands to use for 13 or 18 mesh.
Let's Start
Welcome & WHAT YOu'll need
Watch our videos on how to needlepoint

Step 1
Open Perle Cotton
- Keep your number on the tag.
- Pull one side of the thread out.
- Separate the thread & untwist it.
- Cut each end with scissors.
- Pull one strand out.
When storing your threads, gently tie the bundle in a knot and place in a dry bag for safe keeping.
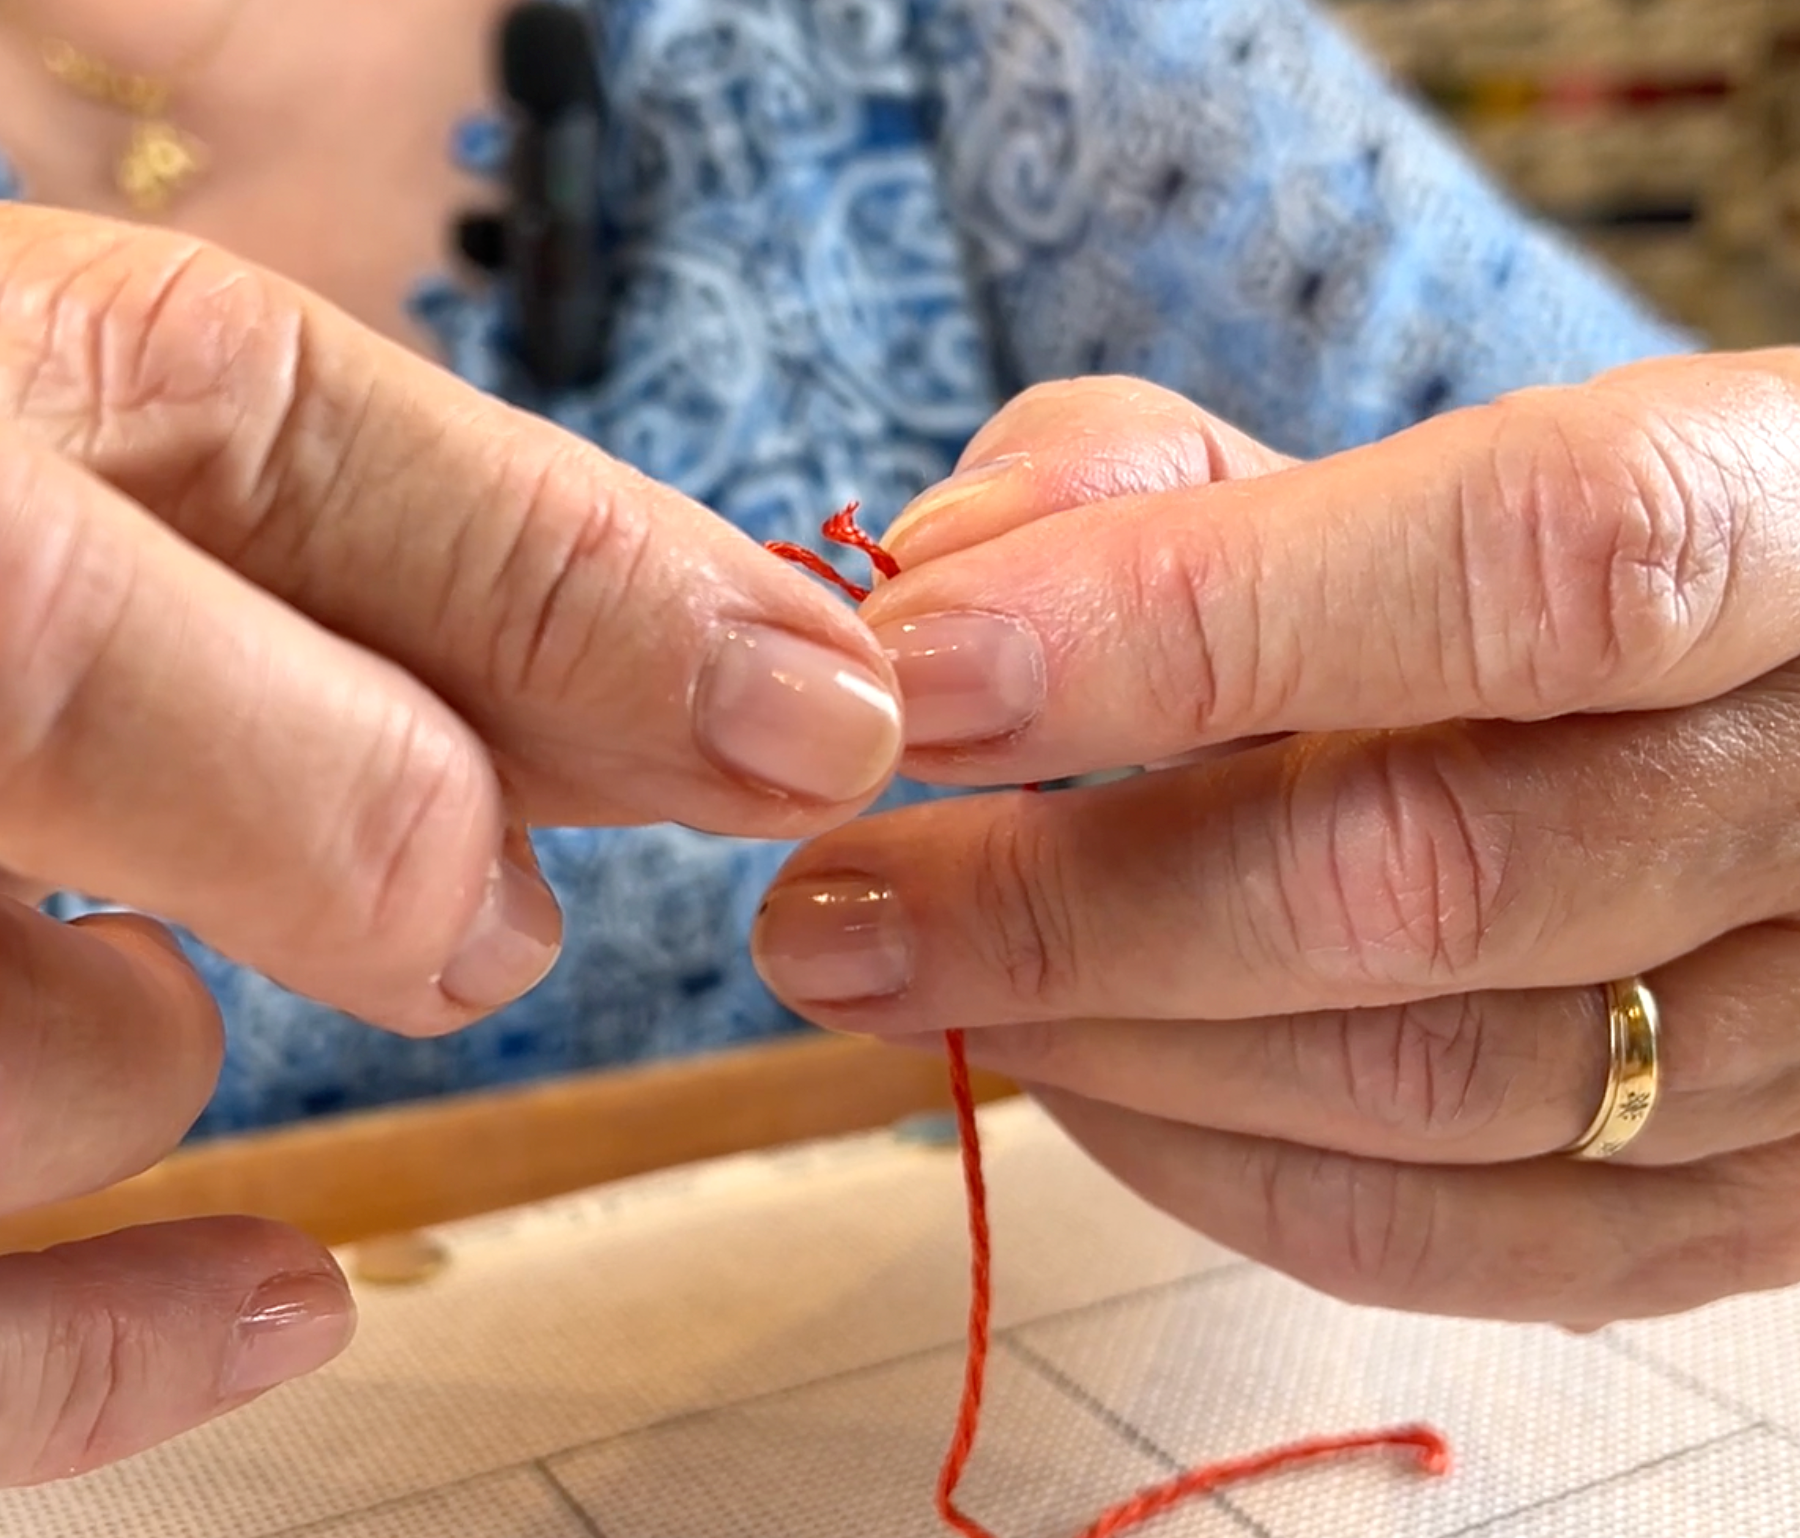
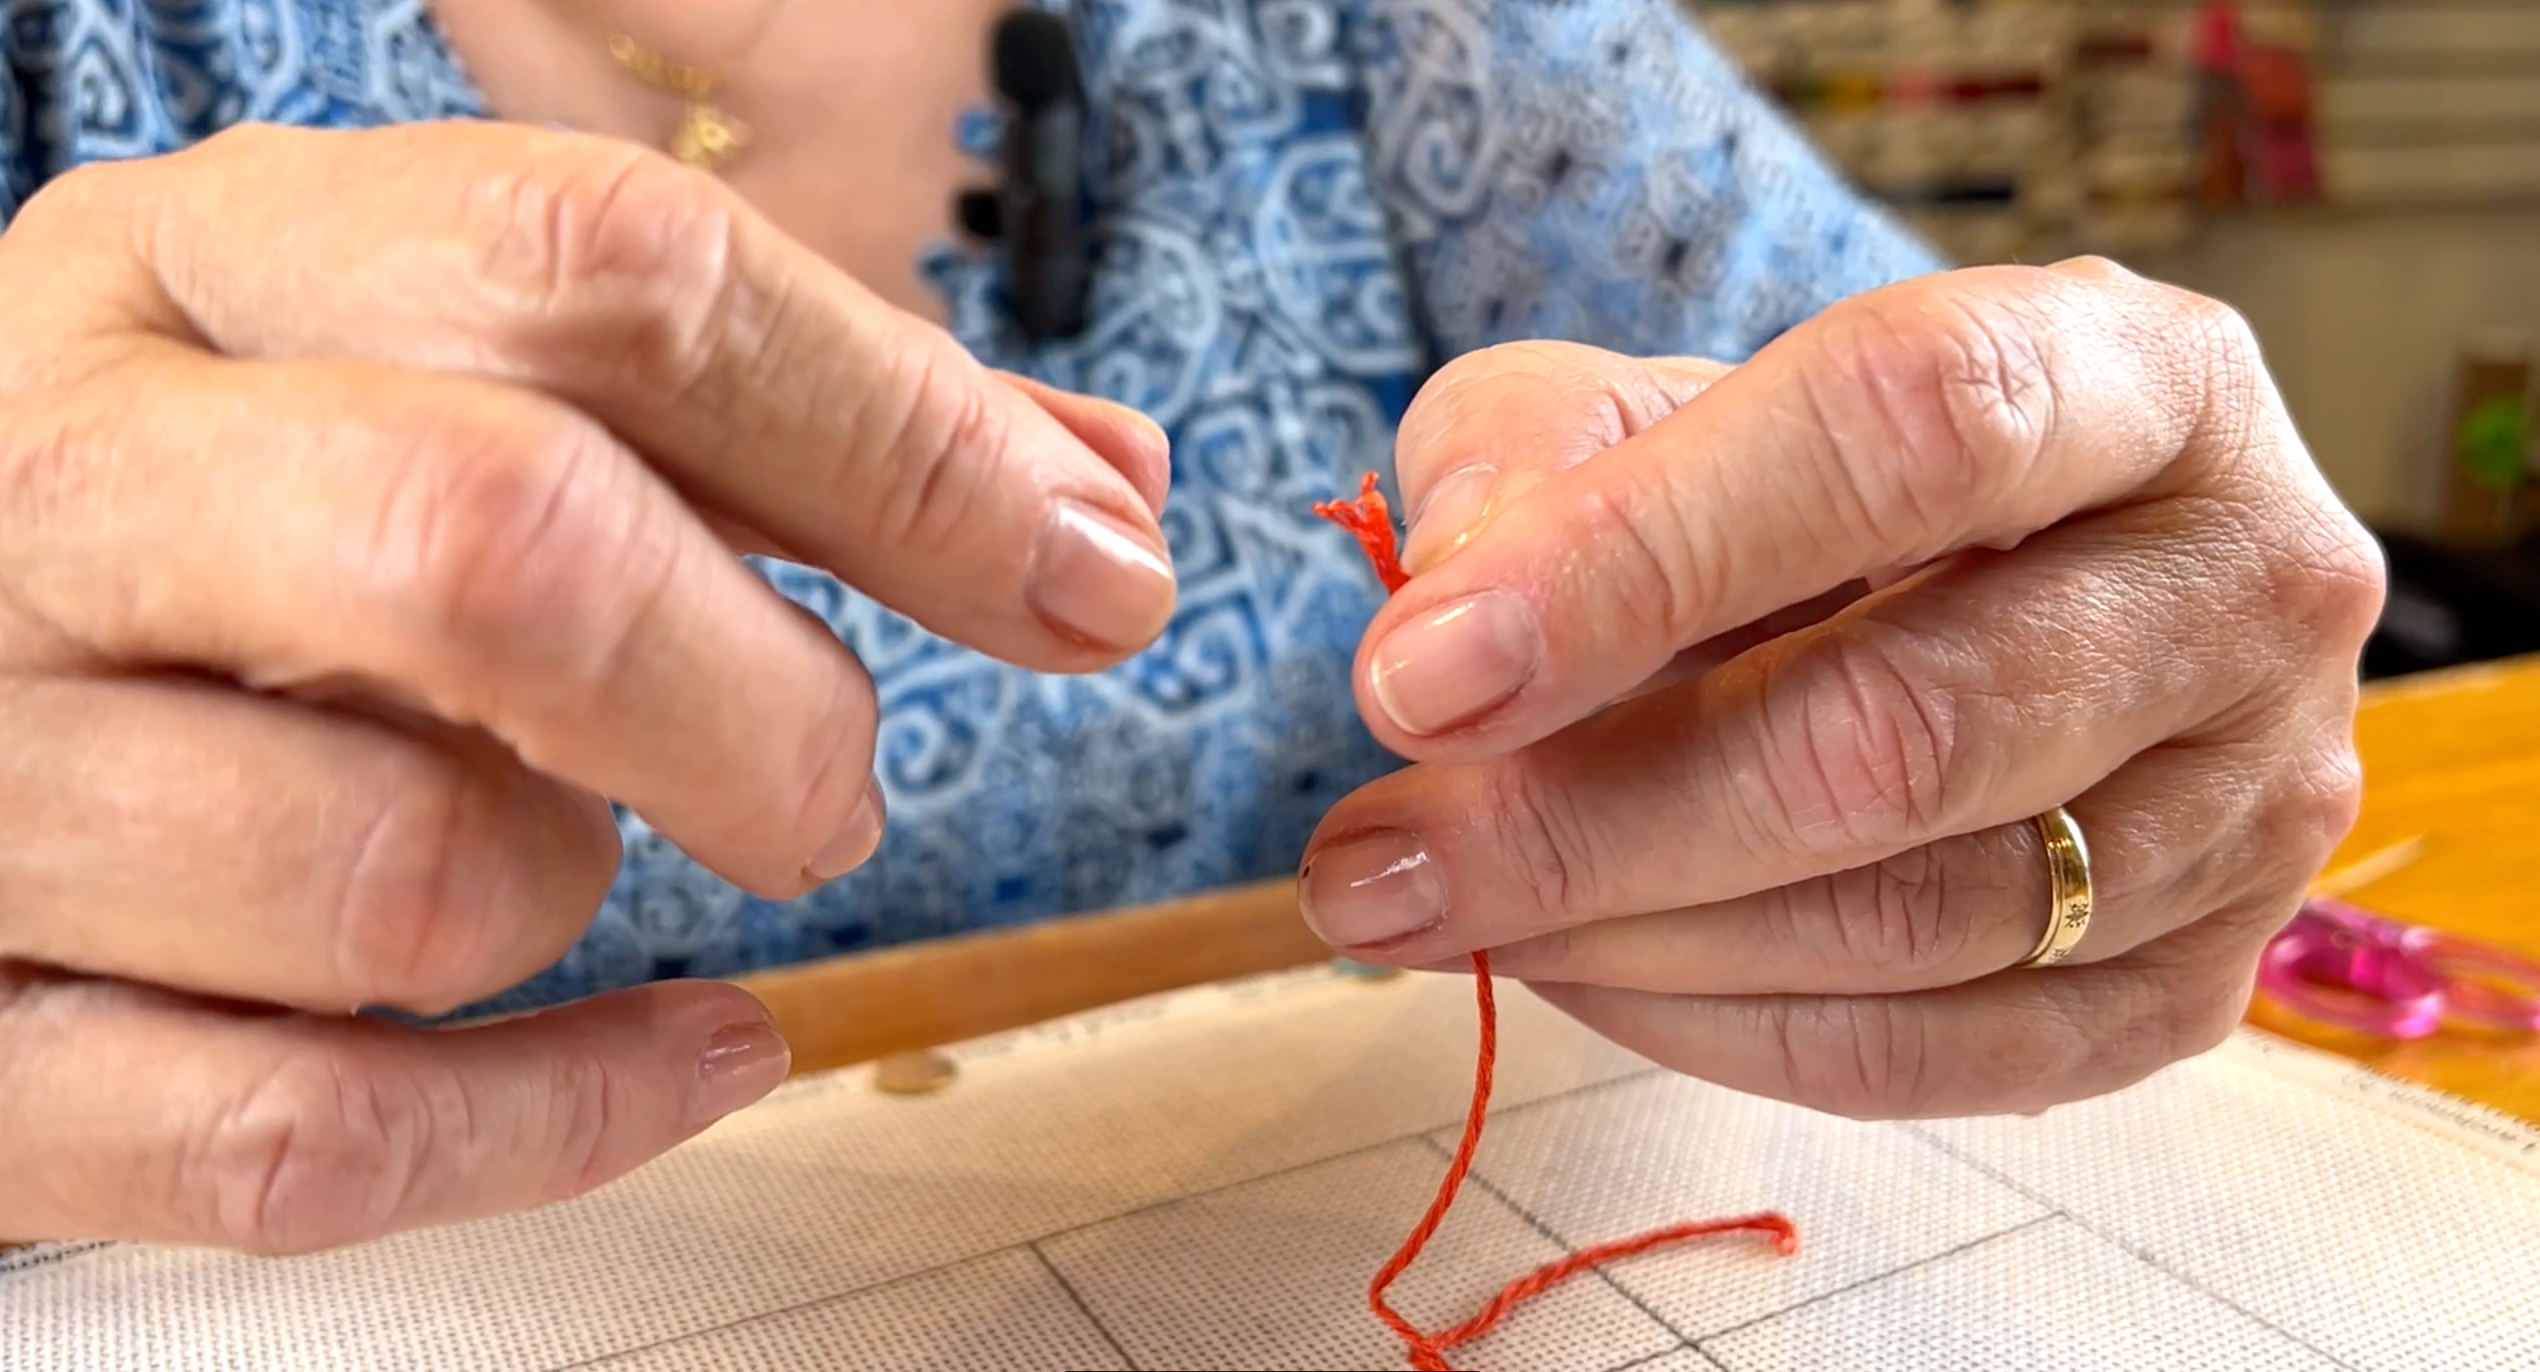
Step 2
Ply Strandable Thread
- Cut yourself a length of thread with sharp scissors.
- Tap the end to separate the bundles.
- Pull one out
- Tap the end of that bundle and pull them apart.
- Place them together and thread your needle.
Step 3
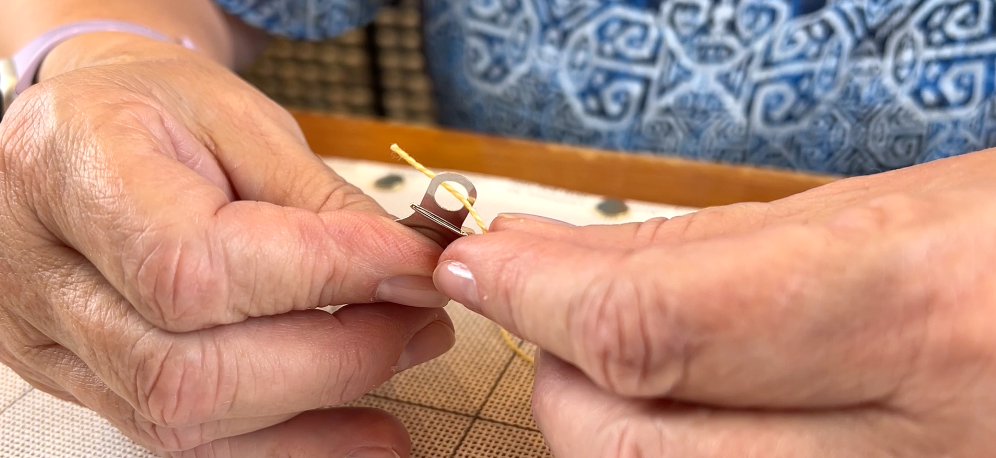
Thread the needle
- Cut the end of the thread so it is fresh and straight.
- Dampen the end of the thread and squash the fibers together between your thumb and index finger so they are flat.
- Fold over the very end of the thread and thread this folded end through the eye of the needle. You can use a needle threader to make it easier.
Step 4
How to Start & Stop
- Knot the end of your thread.
- Thread the needle through the top of the canvas, so the knot is on top.
- Move your needle horizontally across the path of the knot and begin stitching toward the knot.
- The thread will cover the back and keep everything tucked in.
- Turn your canvas over and push the needle through about 6 stitches — giving it a little tug. Then, cut off the excess thread.
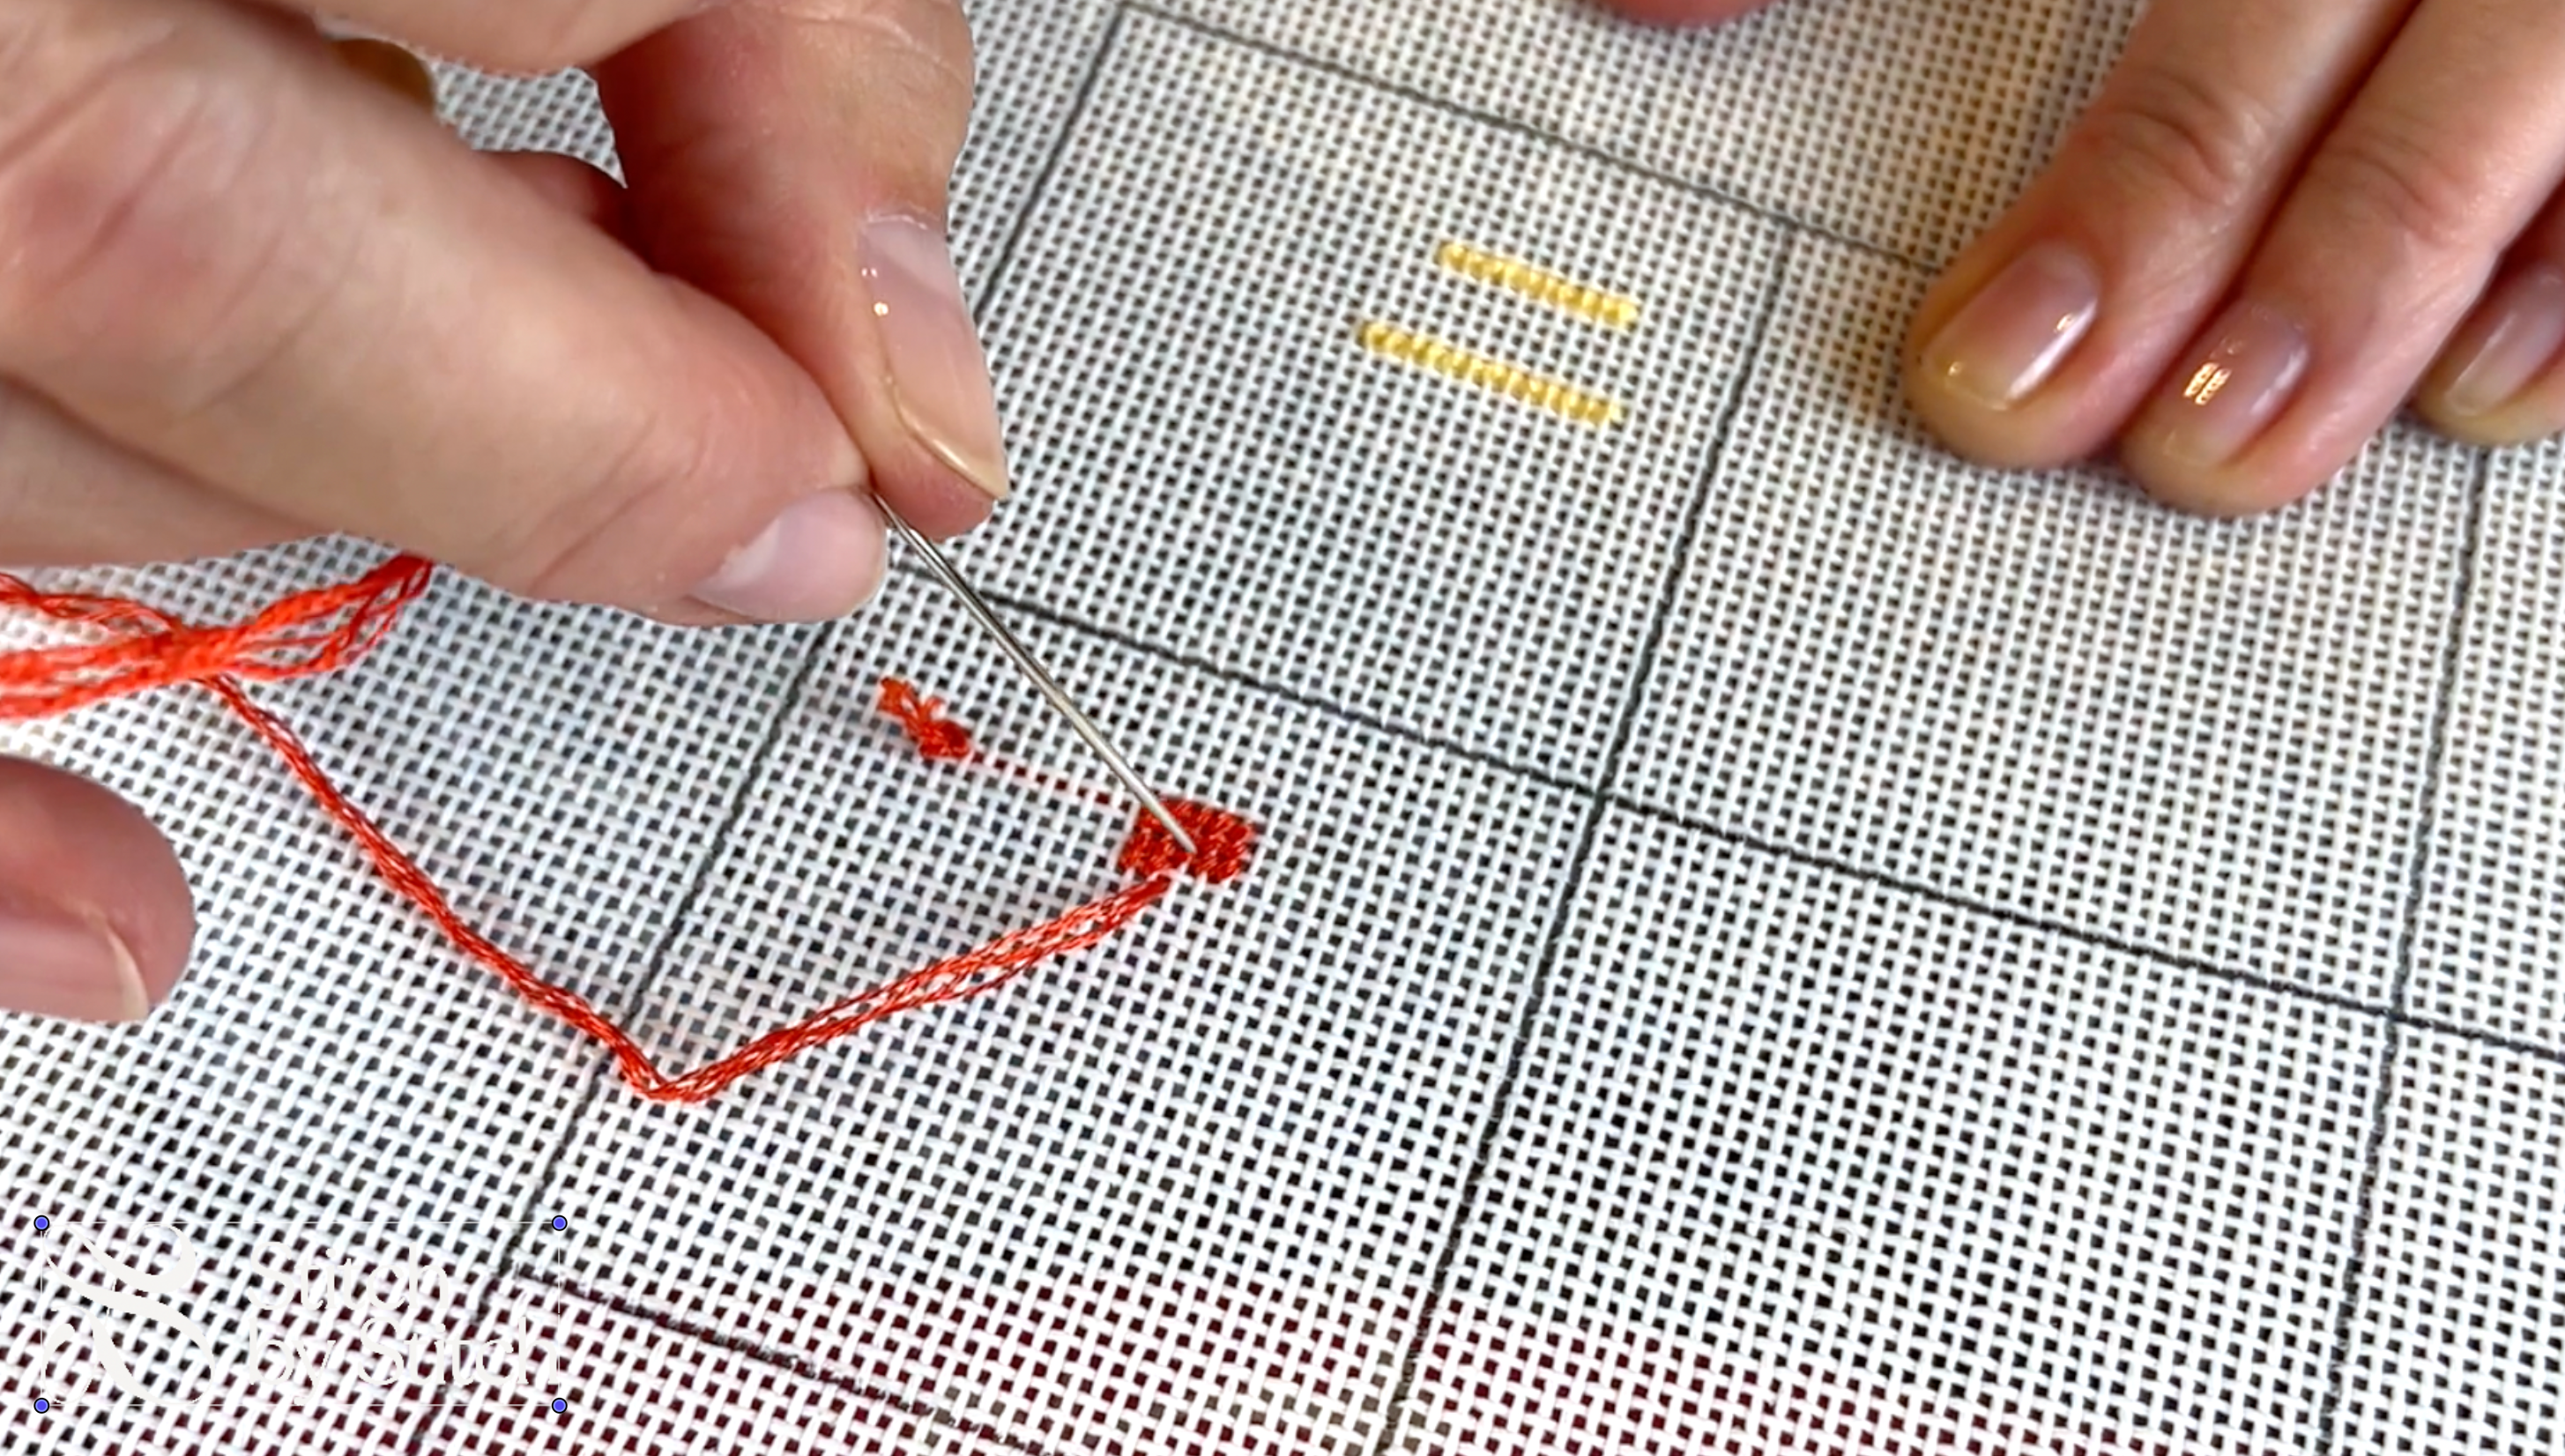
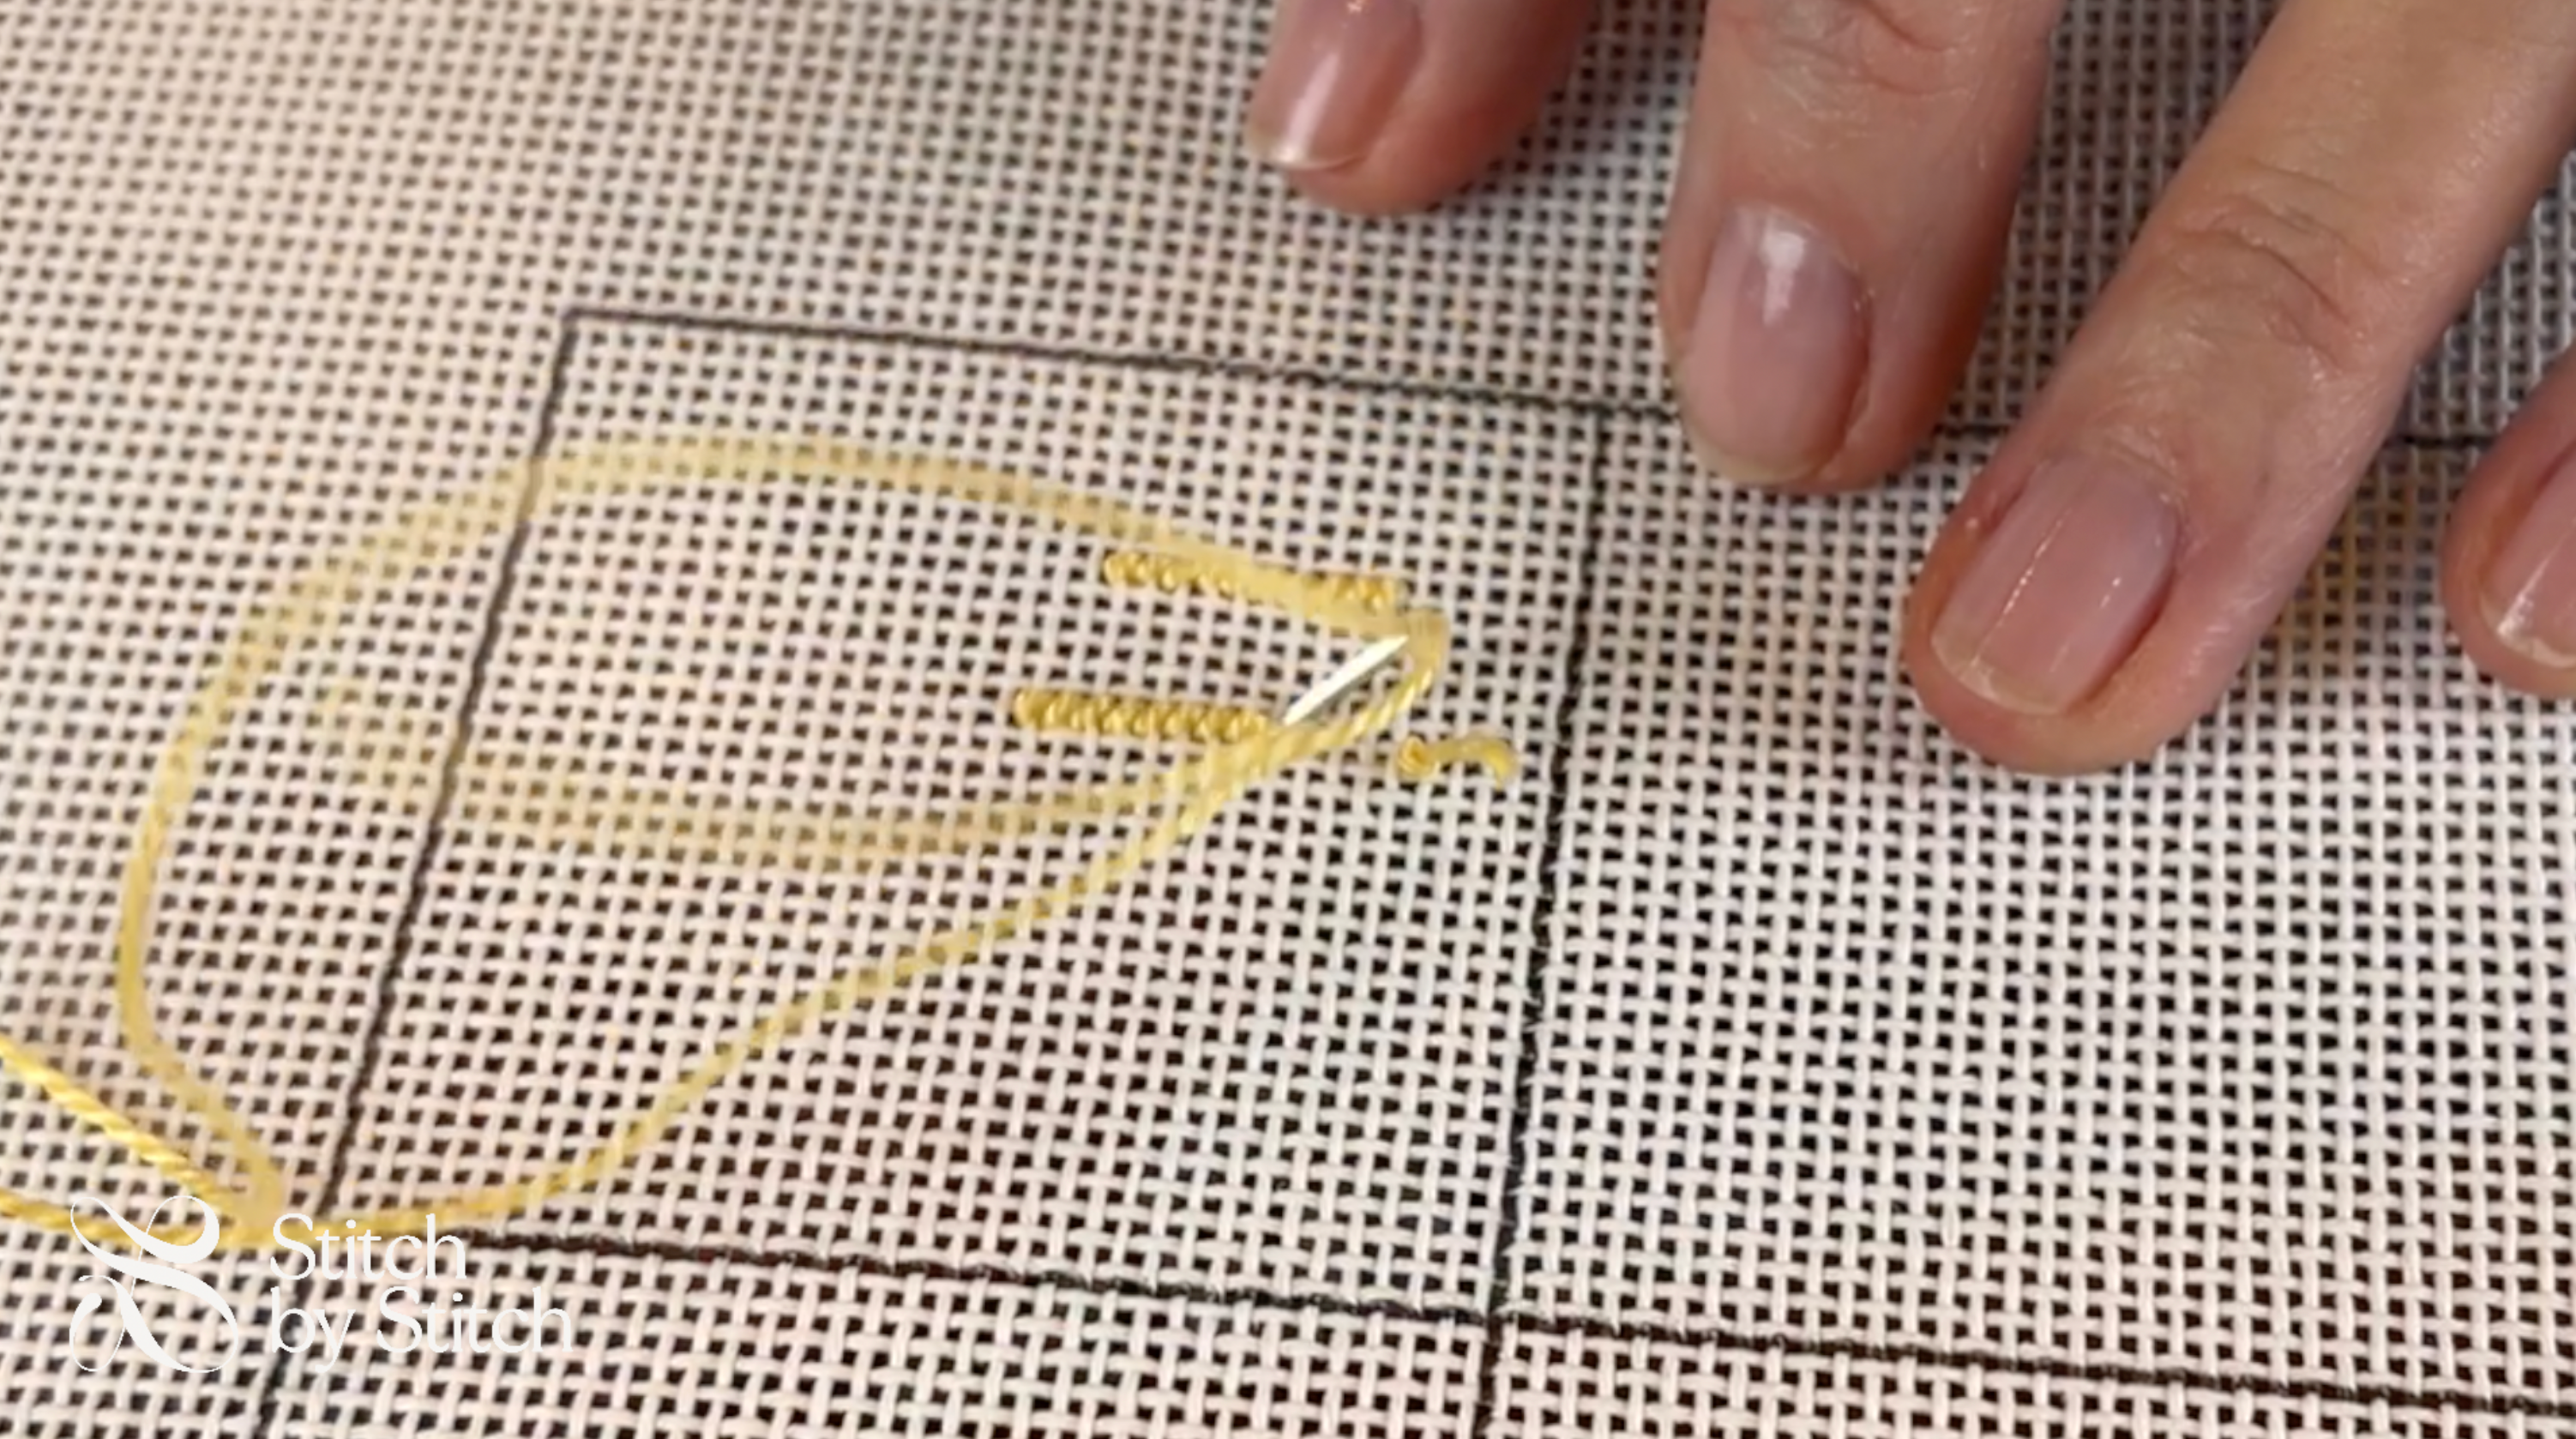
Technique
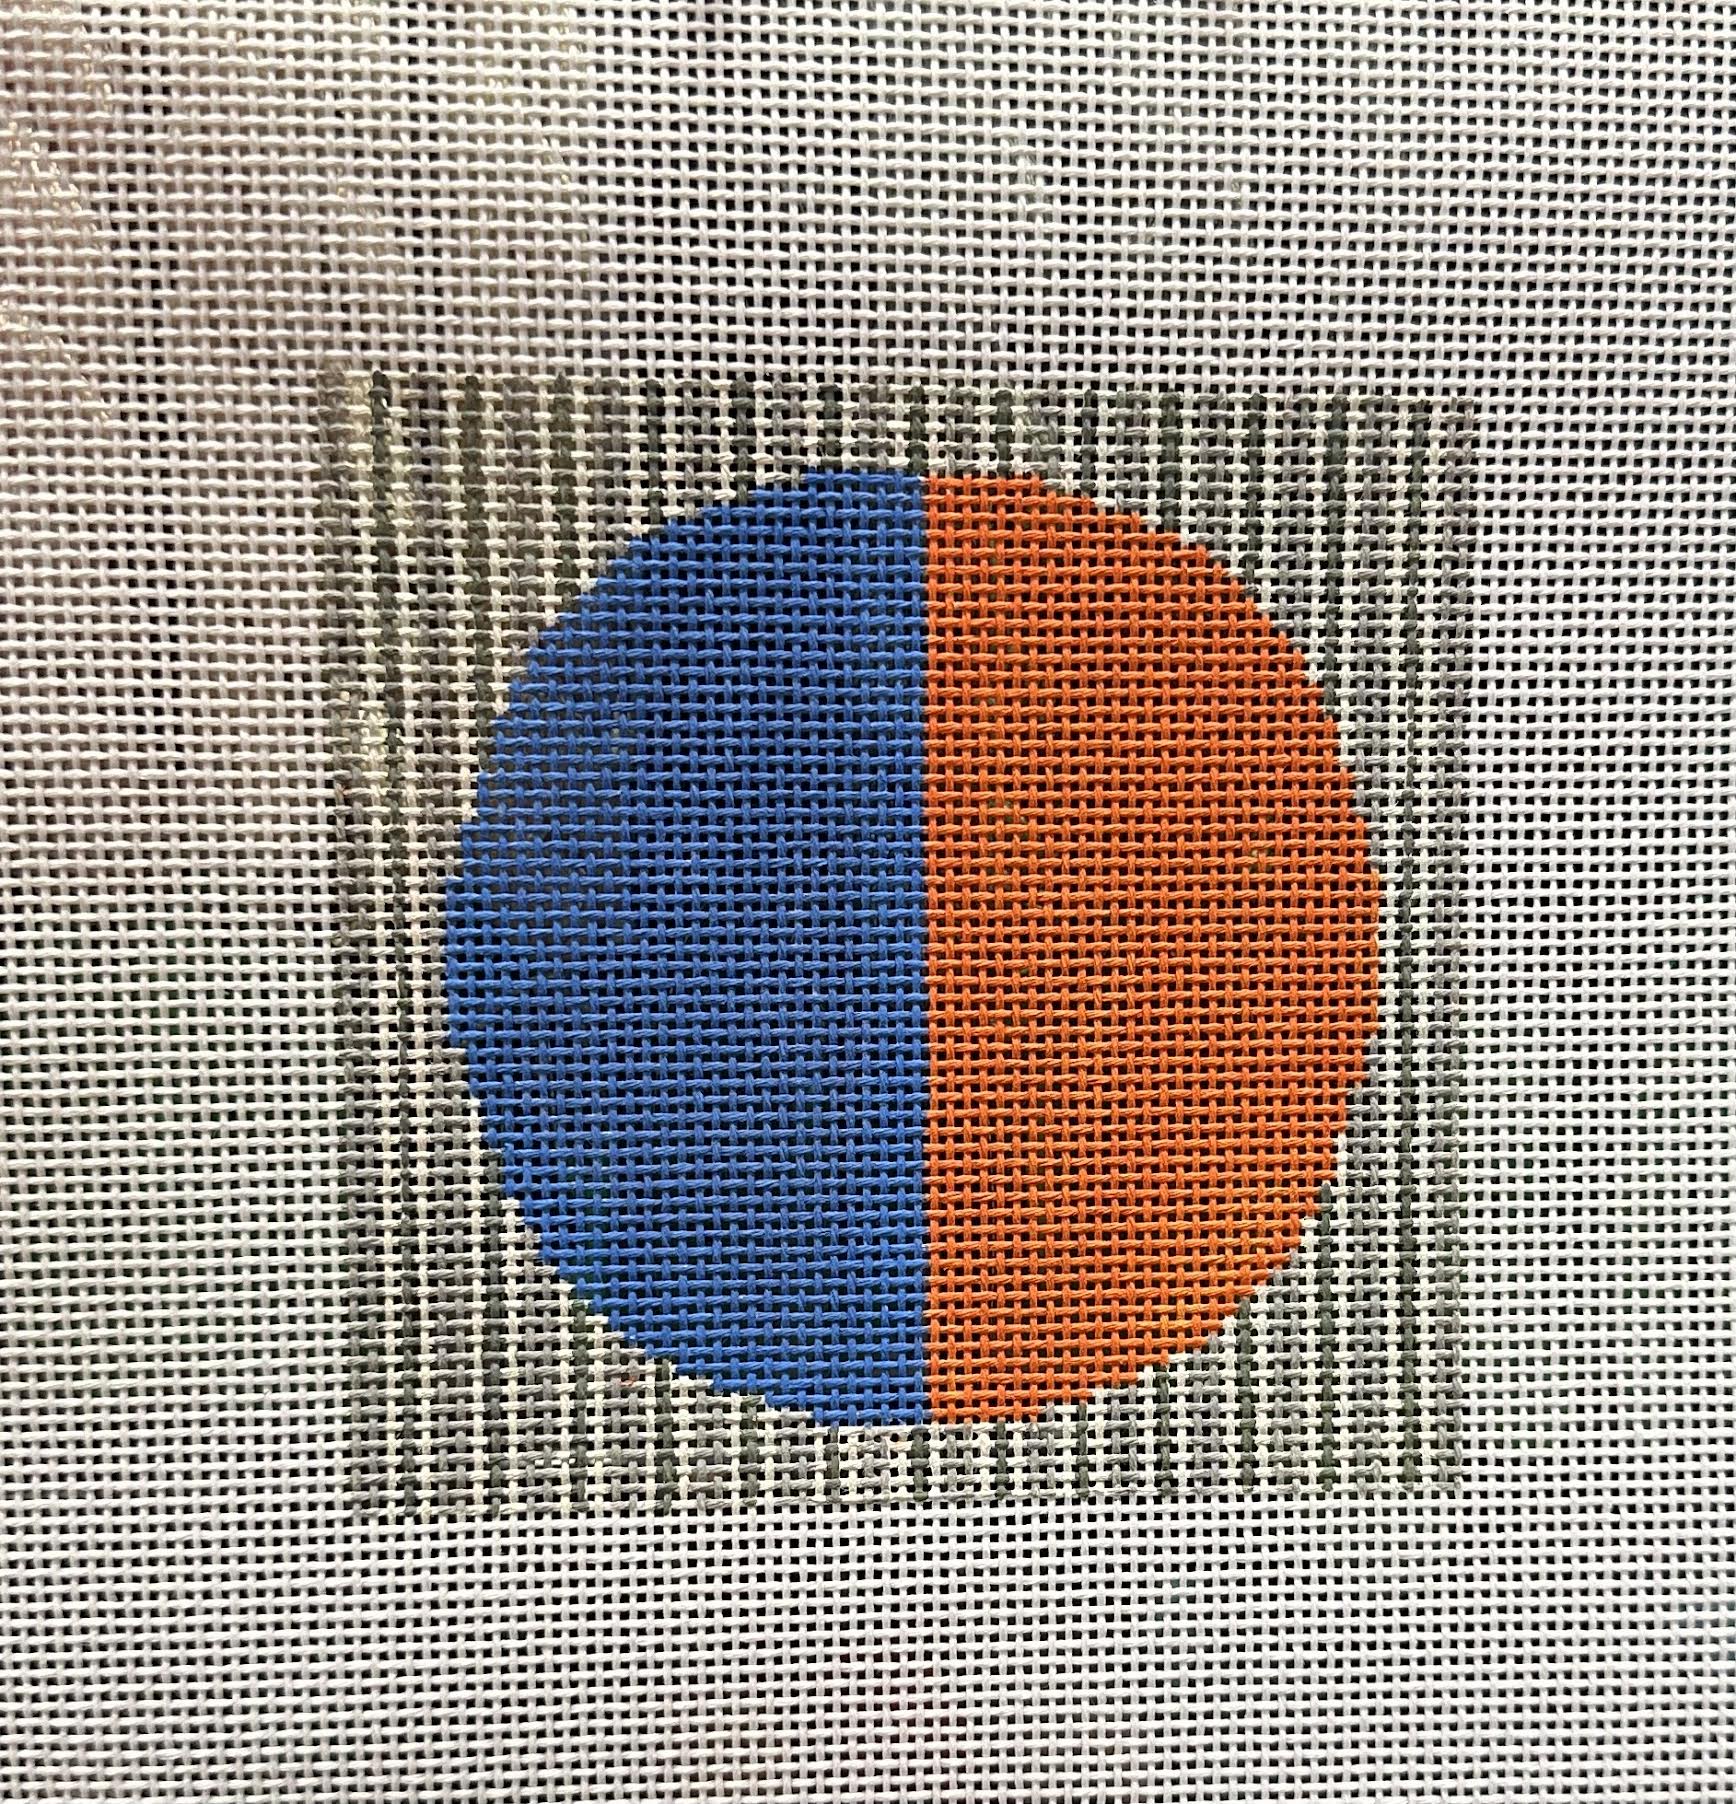
Continental Stitch
- Thread needle and start from below.
- Insert needle diagonally.
- Maintain tension for consistency.
- Repeat, covering canvas area systematically.
Basketweave
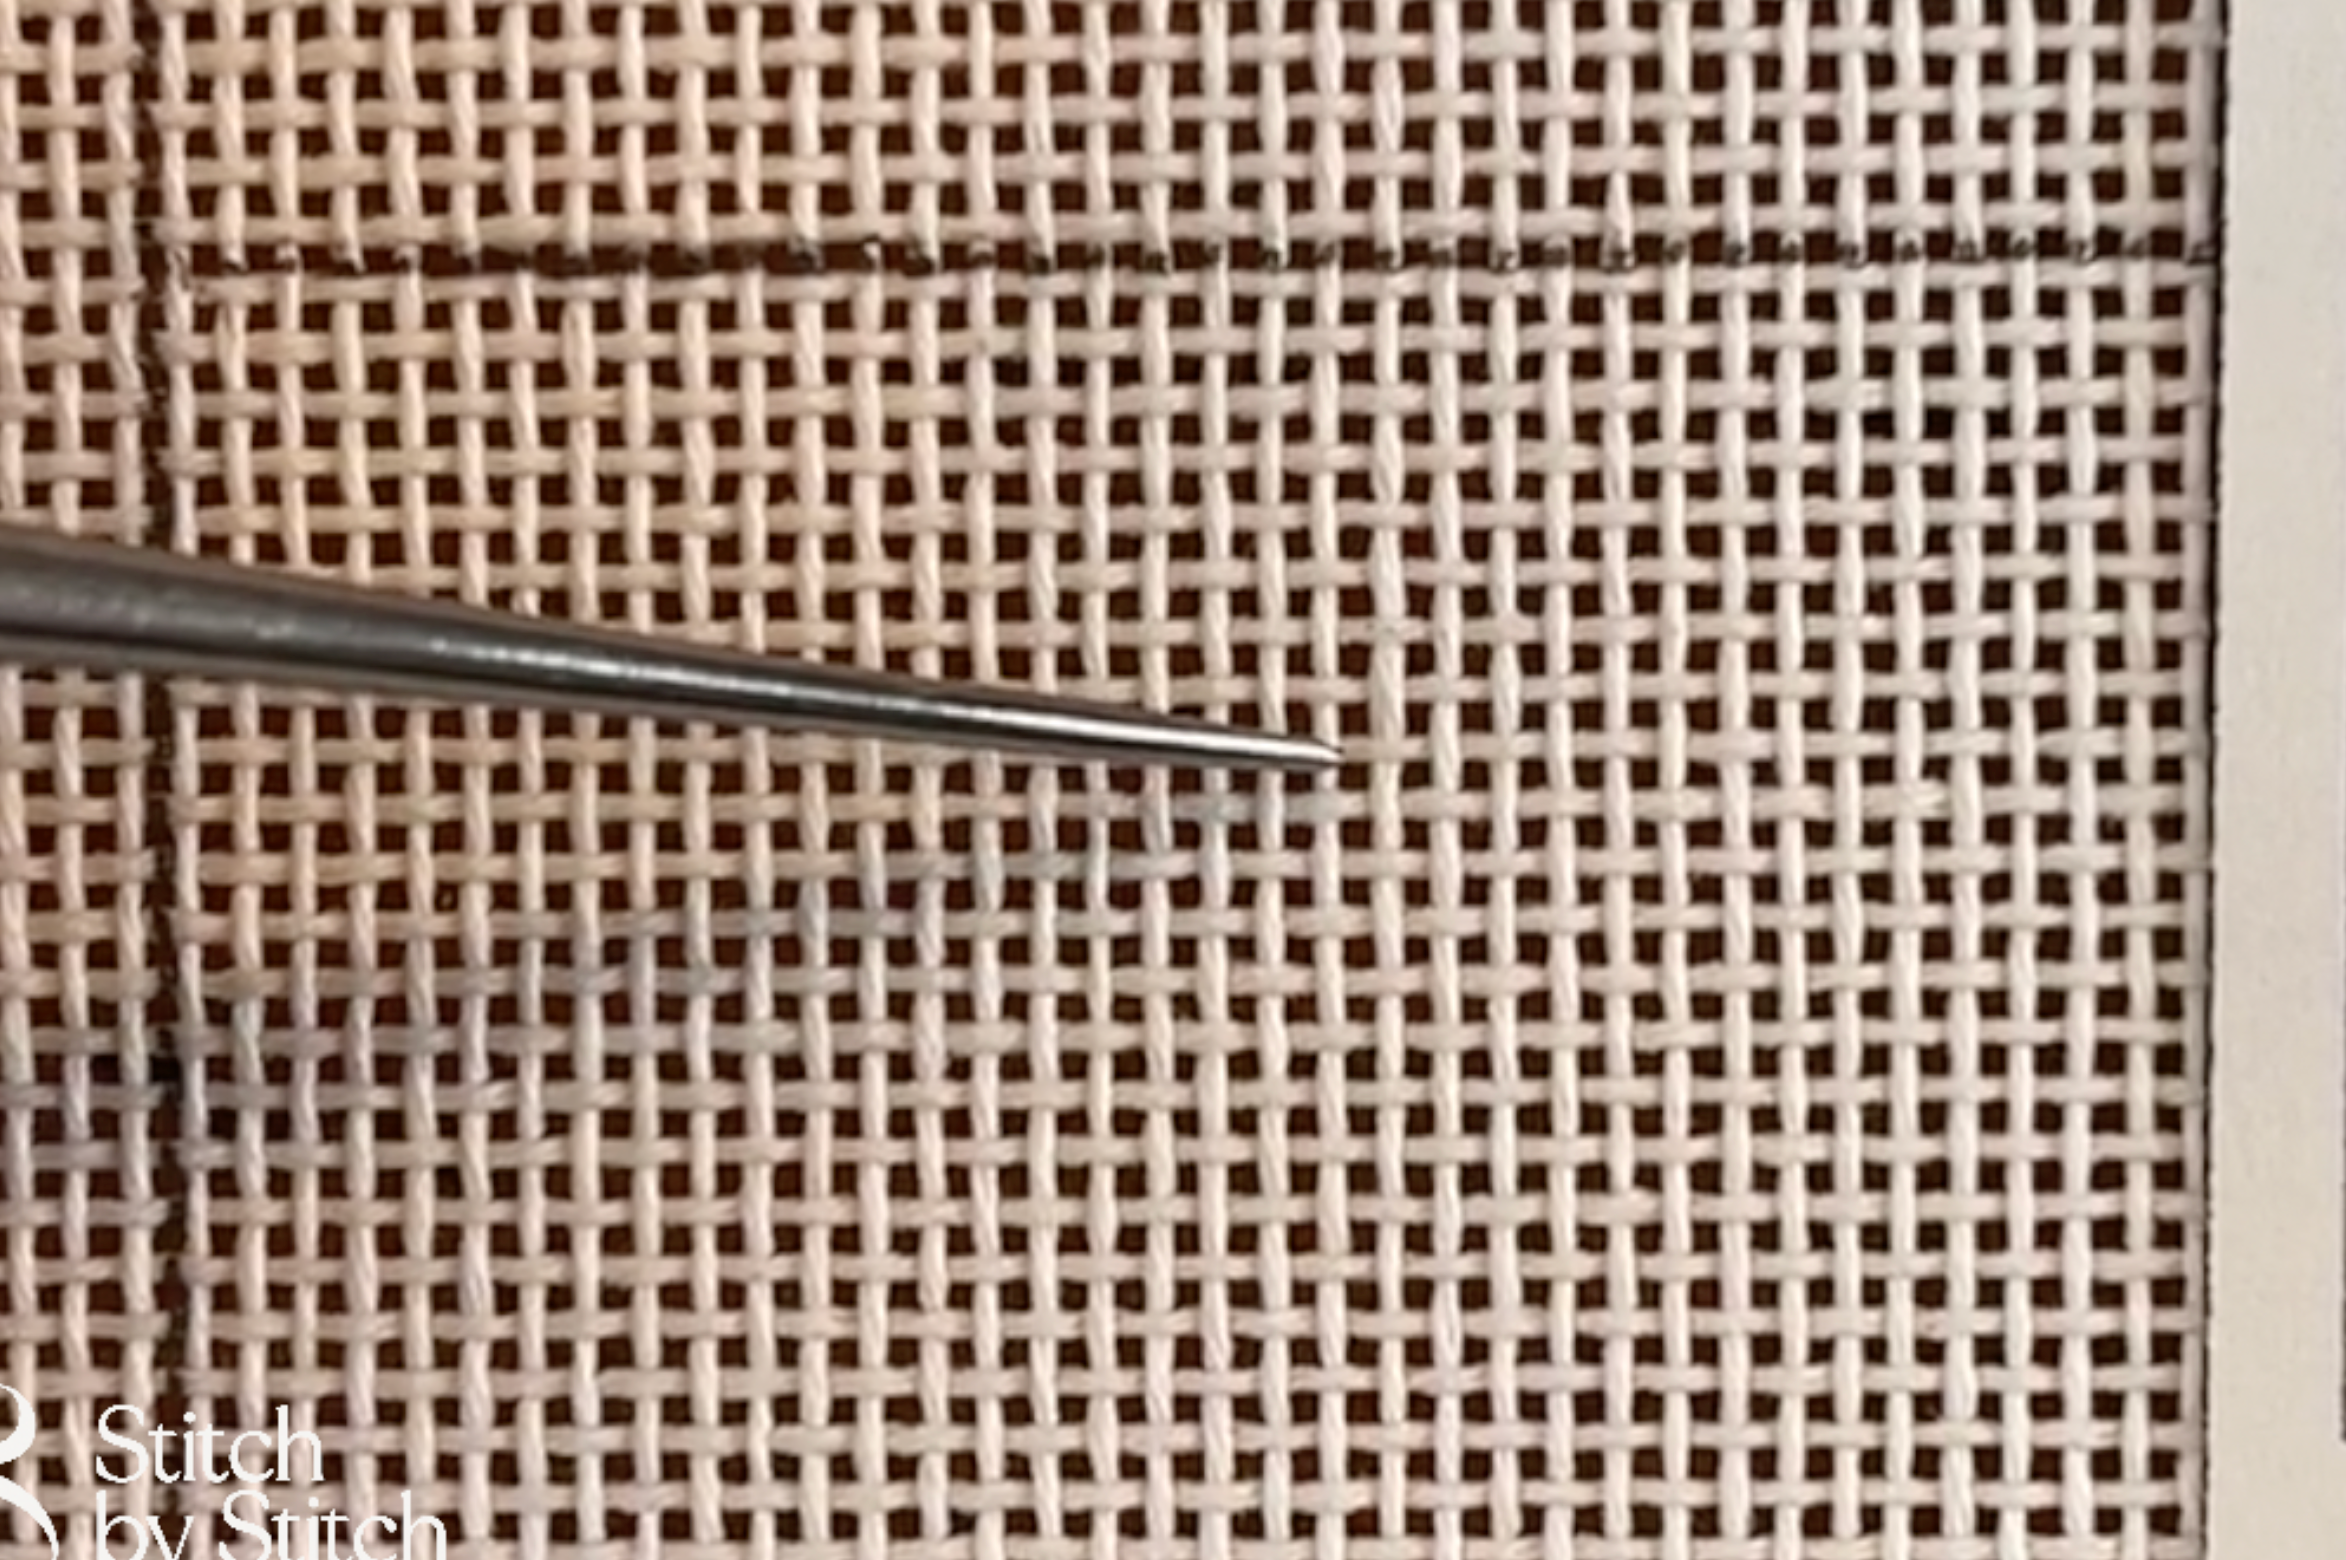
How to Read a Canvas
- Identify canvas threads.
- Stitch down on vertical threads.
- Stitch up on horizontal threads.
- Imagining sliding down the "poles" and "walking" up the steps.
perfecting your project
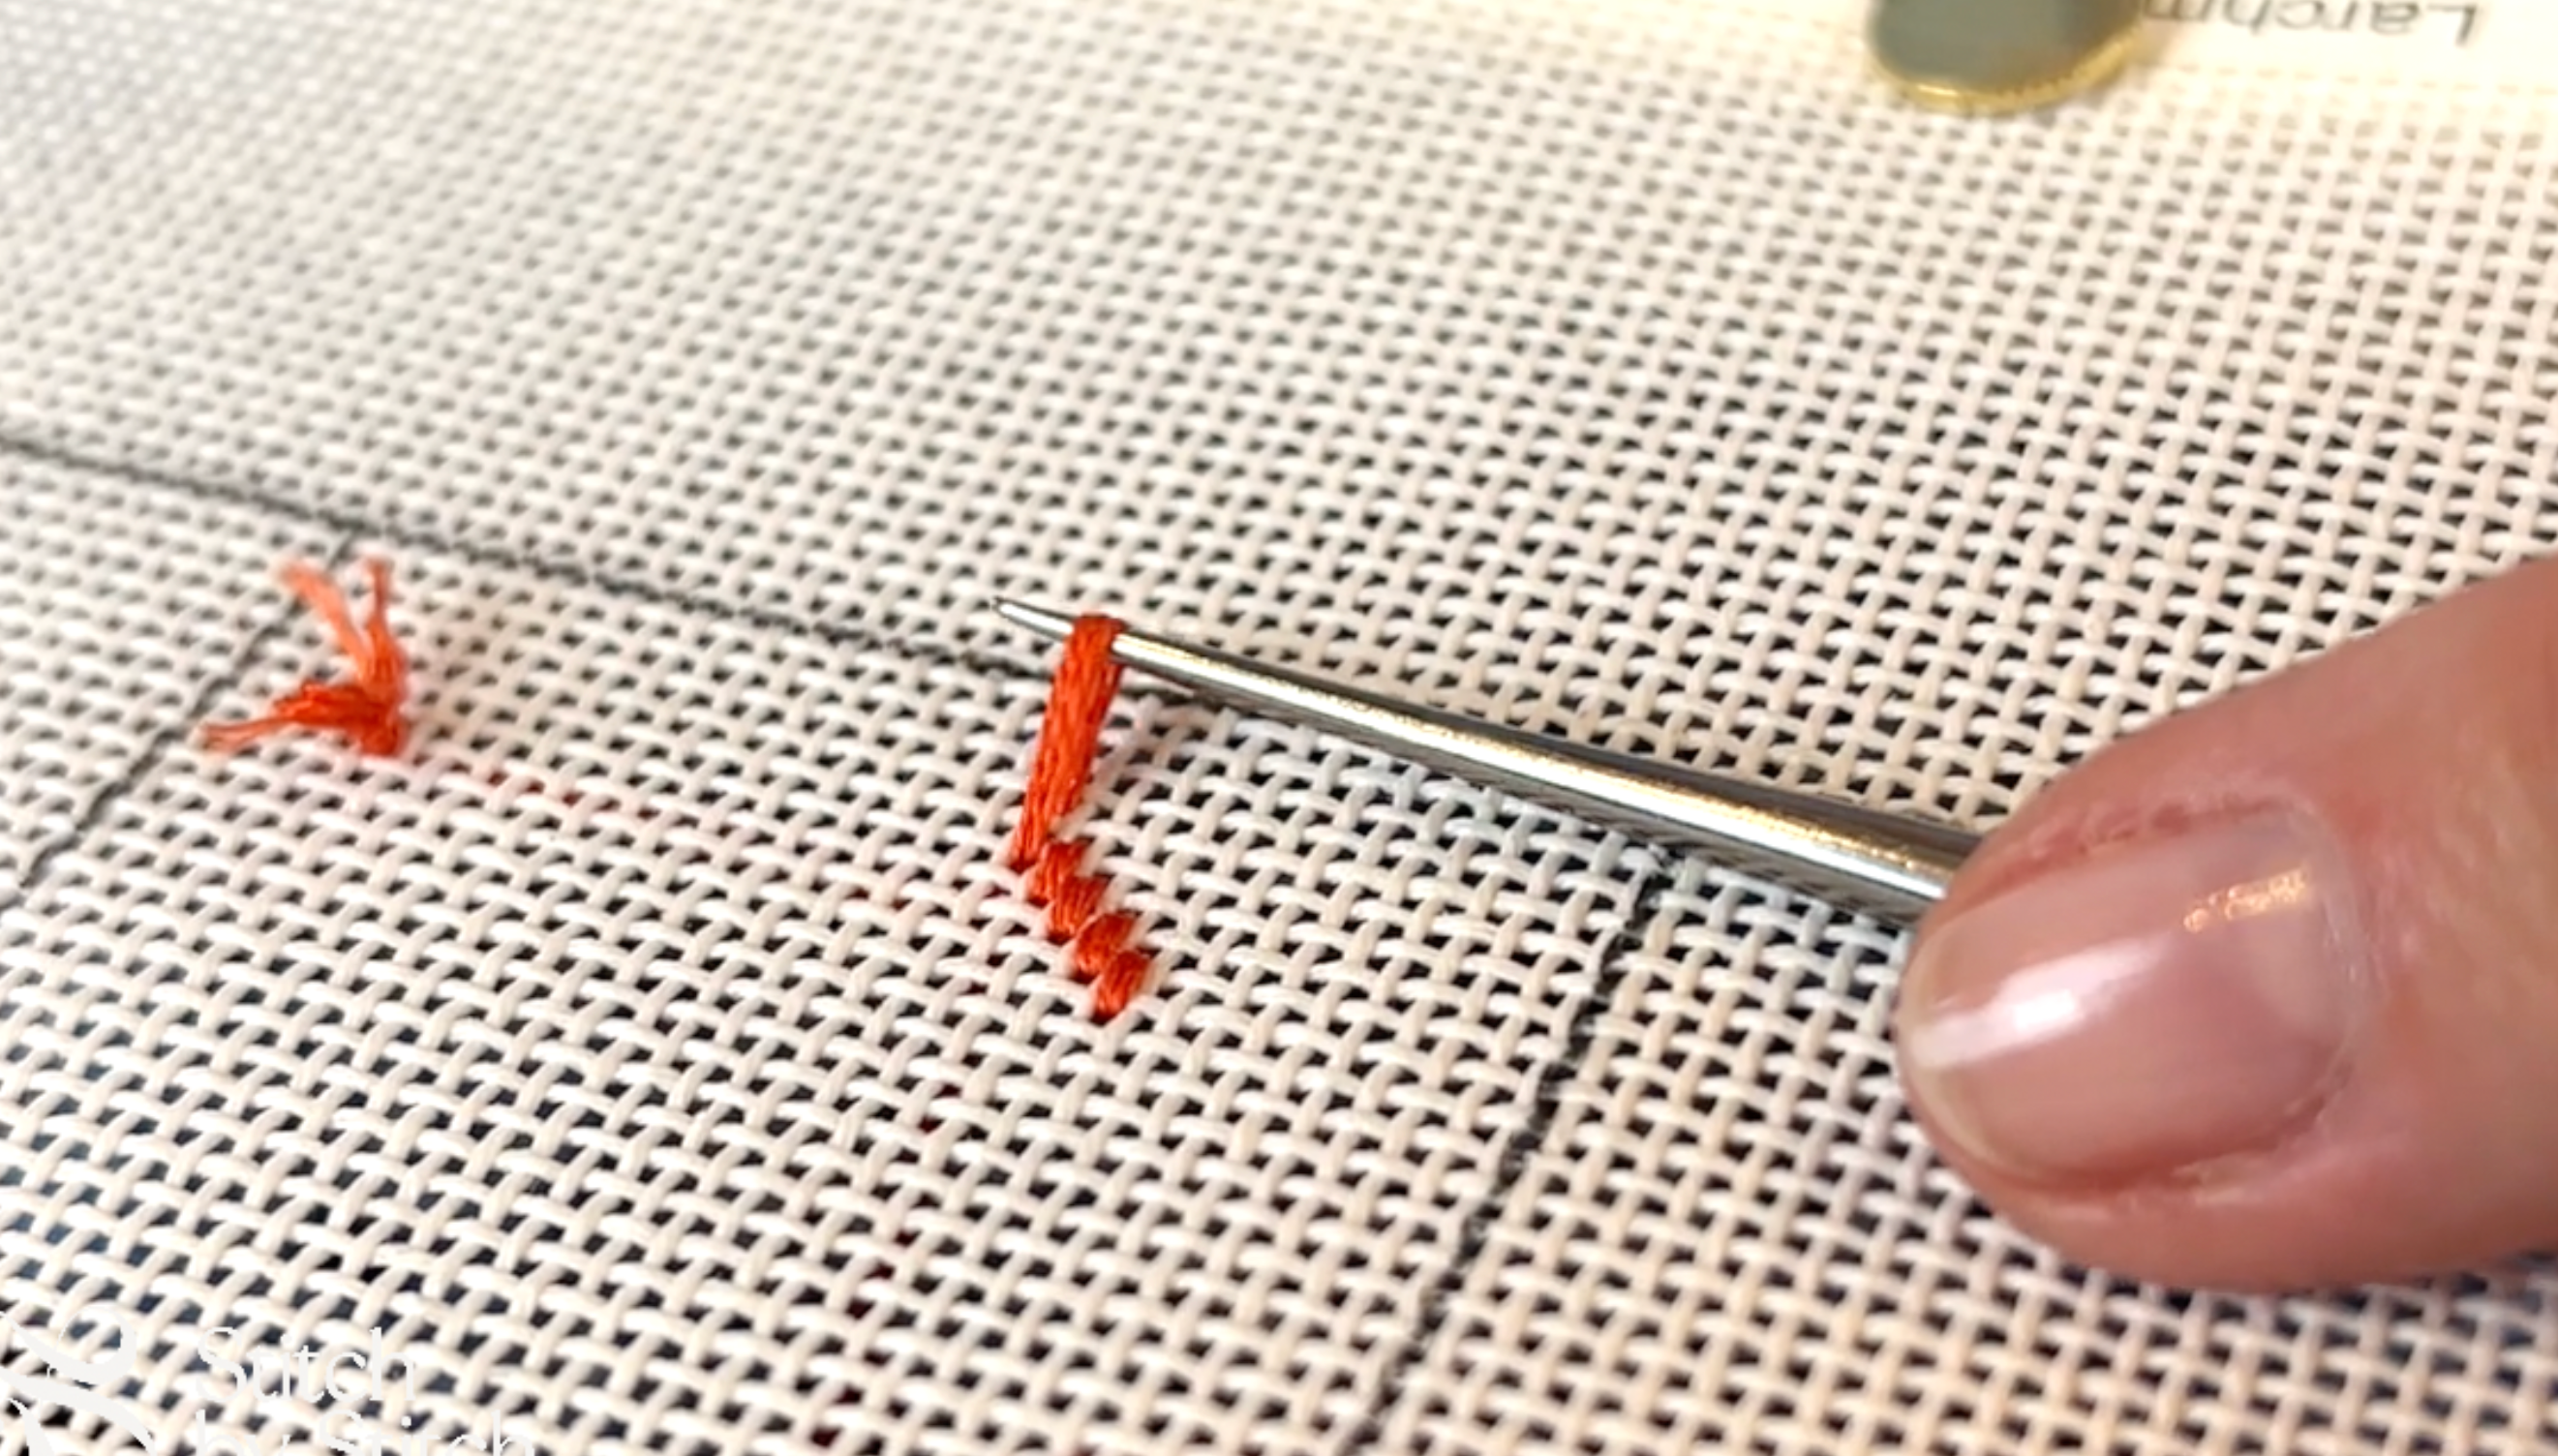
How to Use a Laying Tool
Use a laying tool in needlepoint by gently guiding threads already stitched to lie smoothly and evenly against each other. This enhances the finished appearance and texture of your work.
enhancing your project
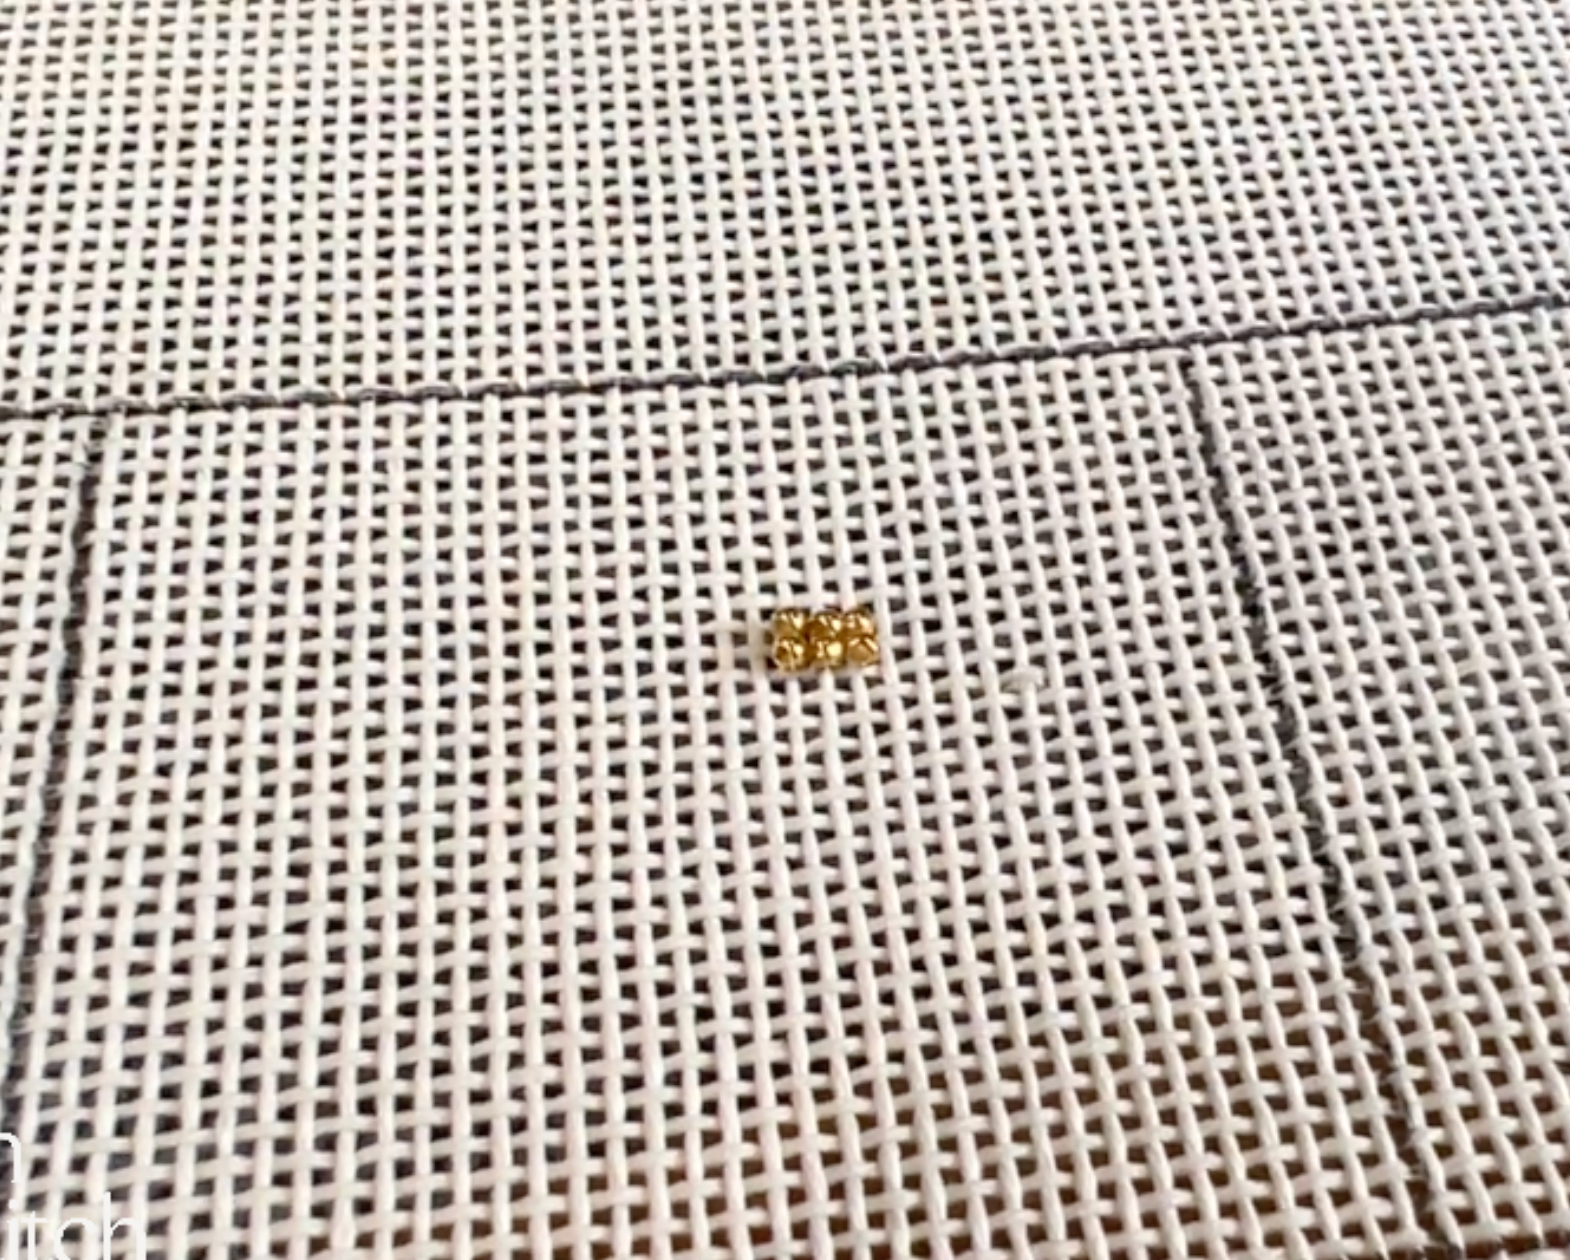
Basic Beading
To do basic beading in needlepoint, thread a beading needle with suitable thread, bring it up through the canvas, slide on a bead, and then secure the bead with a stitch through the canvas. Repeat this process for desired bead placements, creating elegant and textured embellishments.
You're Ready!
Ready to get started?
You're about to embark on a calming and nurturing hobby that can provide you with a sense of purpose and creativity.
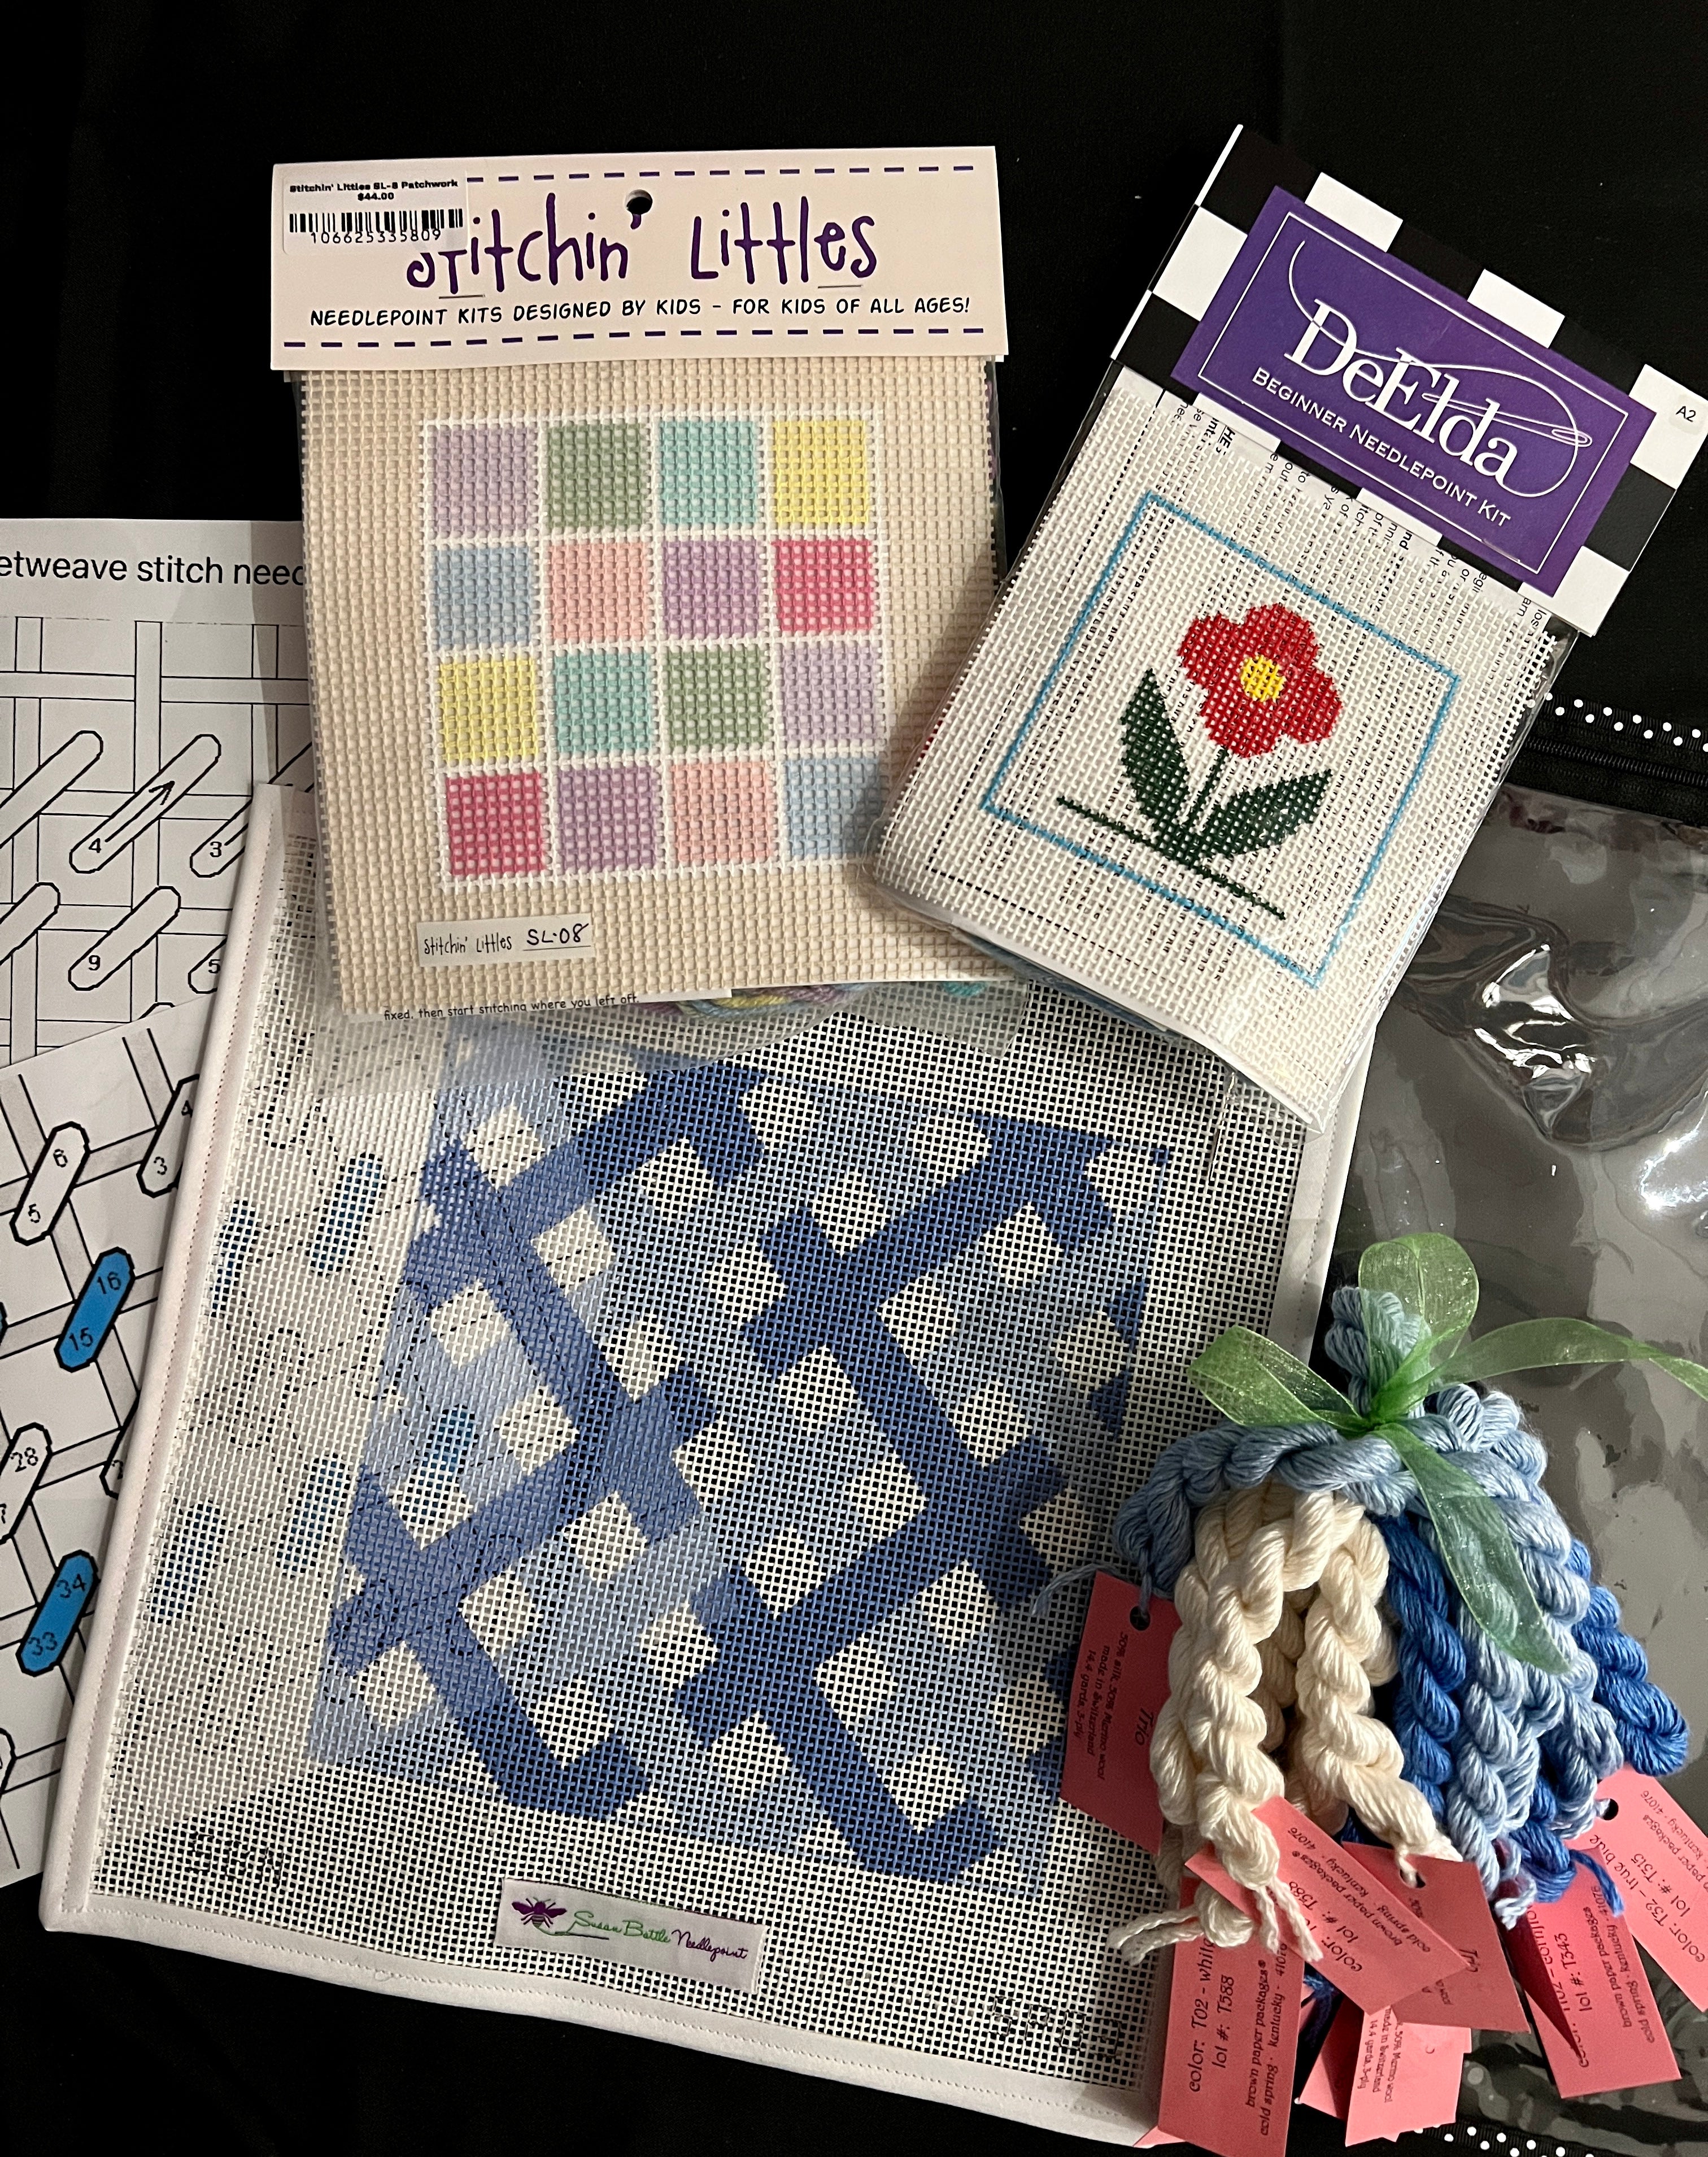
Choose your first project

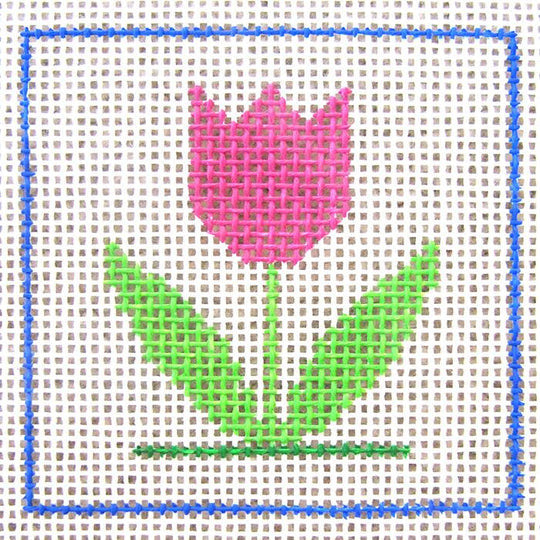
Needlepoint for Beginners